
The main story of the The Teal Mask, the first part of the Pokémon Scarlet and Pokémon Violet DLC The Hidden Treasure of Area Zero, will take trainers on a journey to the Kitakami region. We break down the overall flow of the story in case you need a refresher or hints on what to do.
Generally speaking, you will not need a guide to complete your journey through The Teal Mask, however this page can also serve as a great refresher if you put down the DLC mid-way through the story or skipped over some of the plot.
Since this covers the details of the storyline, it does have spoilers, although I have tried to hide them in drop-down elements for significant plot points.
Meeting Ms. Briar and leaving for Kitakami
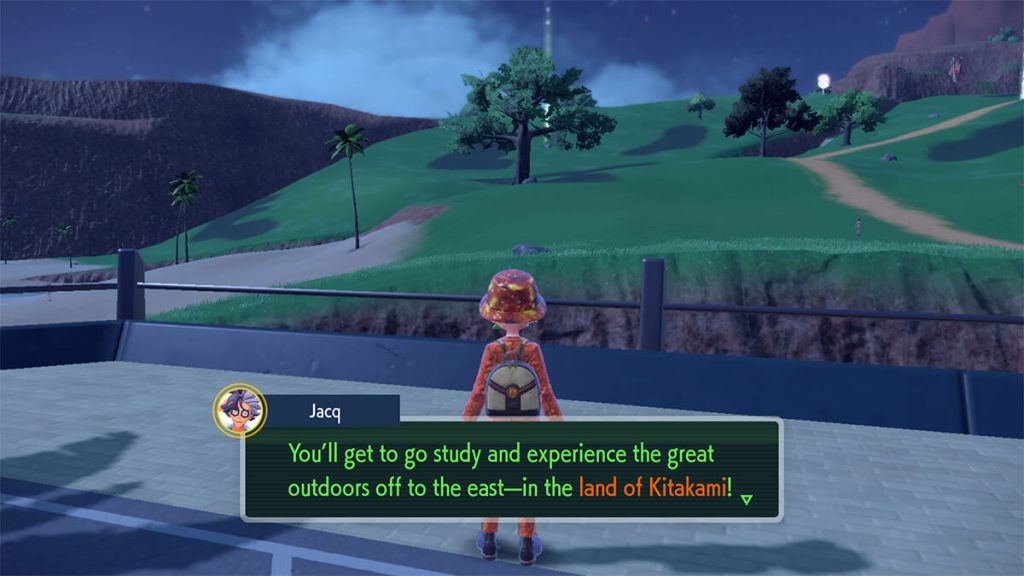
After updating Scarlet or Violet and starting the game, you’ll get a call from your homeroom teacher Mr. Jacq who asks you to talk to him at the academy. You have been drawn as a student to go on a special summer excursion.
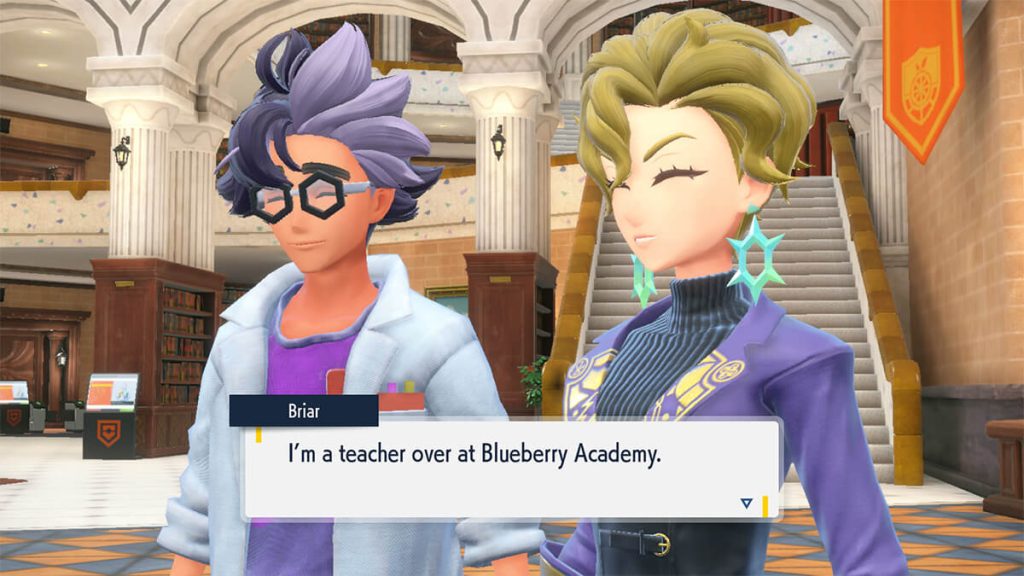
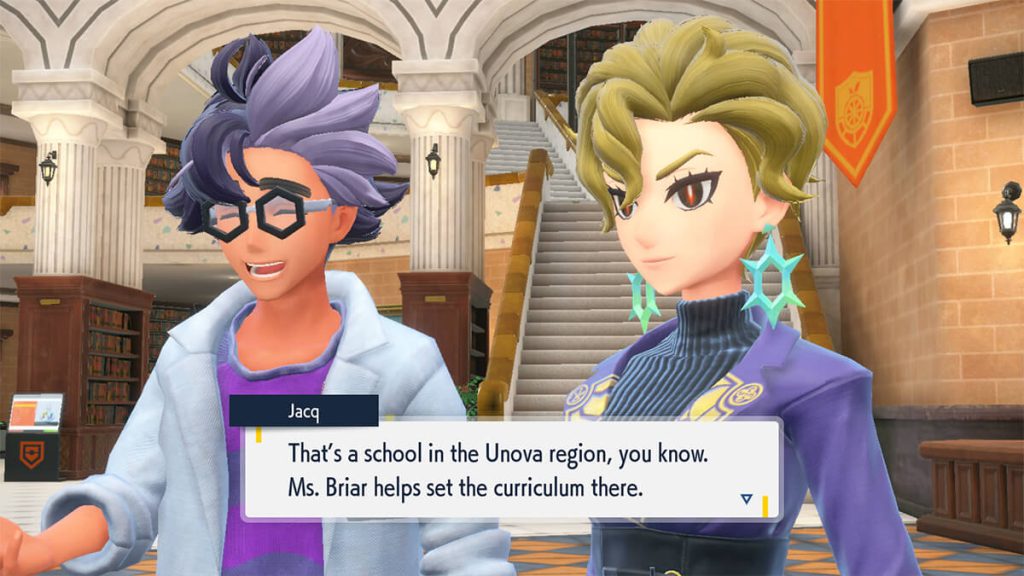
After arriving, you’ll be introduced to Ms. Briar, a teacher from Blueberry Academy, which is located in Unova. She will be supervising the field trip to the Kitakami region. She also explains that she is a descendent of Heath, the creator of the Scarlet Book or Violet Book (book depends on your game version), and would like to someday explore Area Zero to prove that his findings were correct.
Arriving in Kitakami and going to Mossui Town
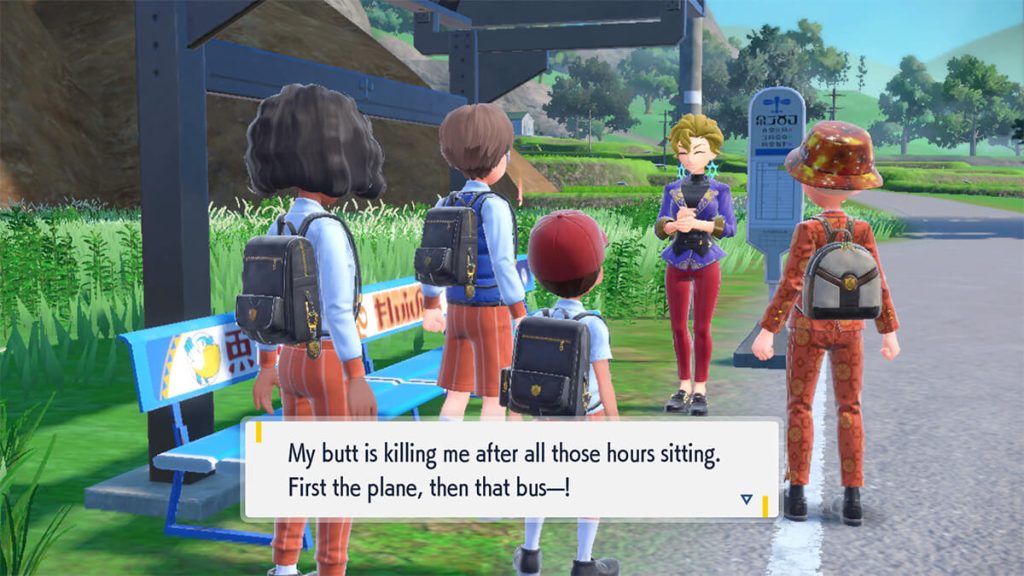

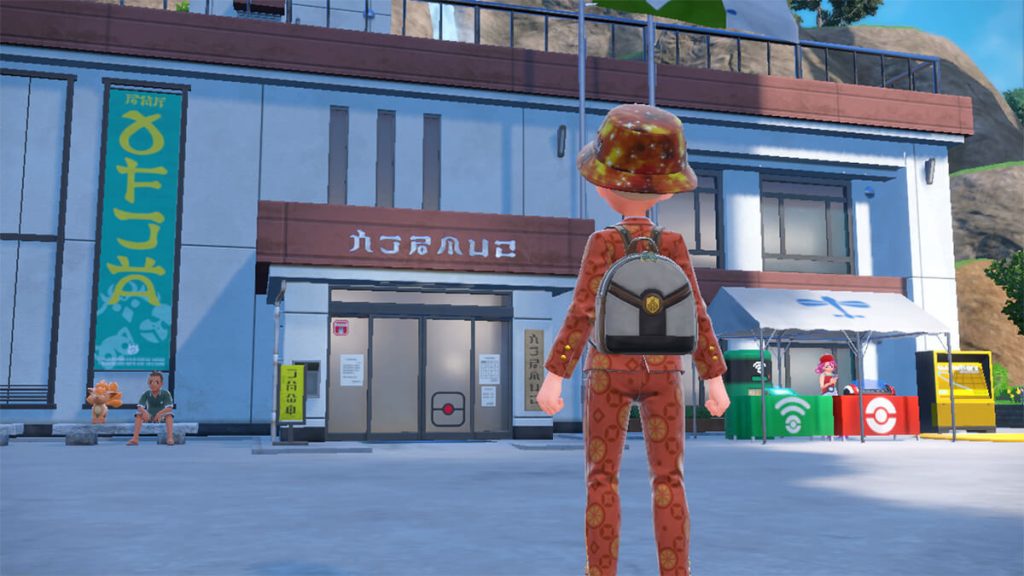
After a plane and bus ride (not depicted), you’ll arrive in southern Kitakami. One of your classmates is feeling ill, so Ms. Briar will ask you to head up to the nearby Mossui Town and let the caretaker know your group has arrived.
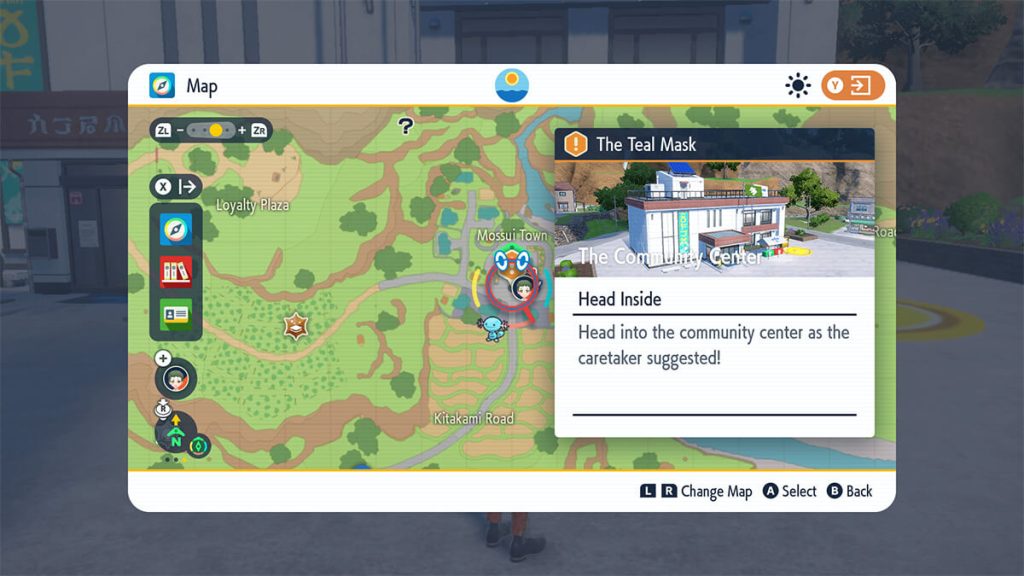
Objective: Trek to Town – Head into Mossui Town to tell the caretaker at the community center that your group has arrived!


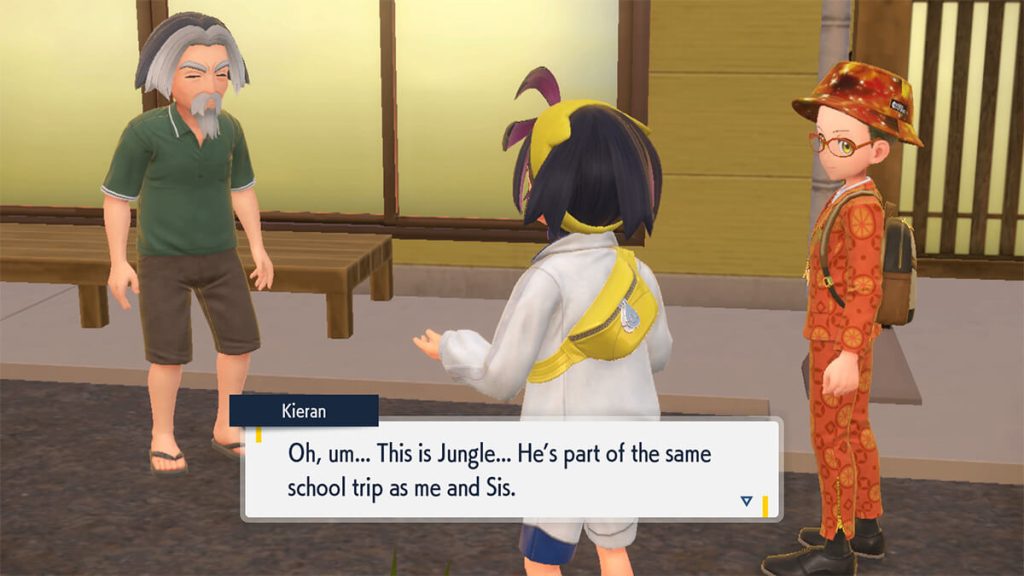
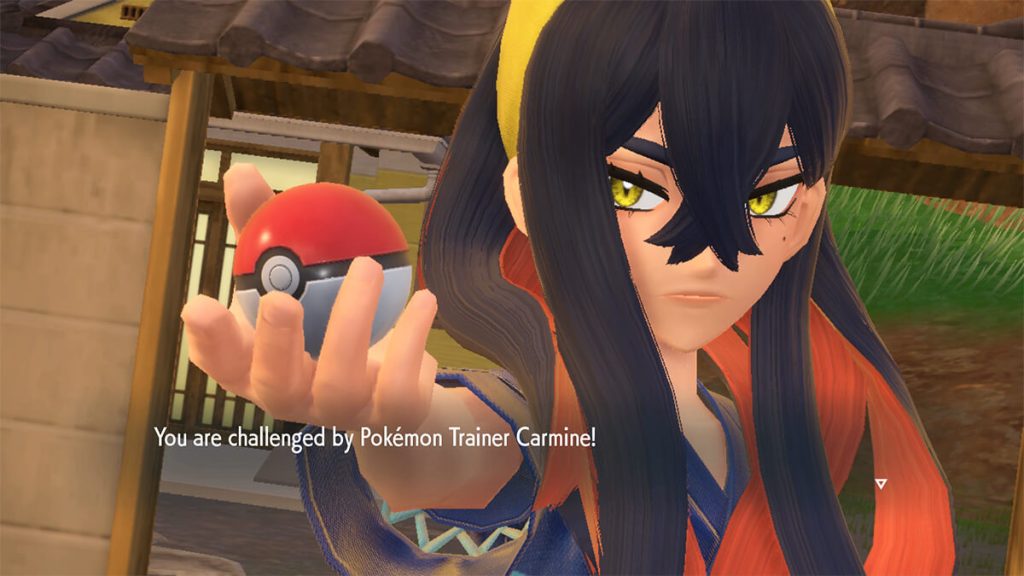
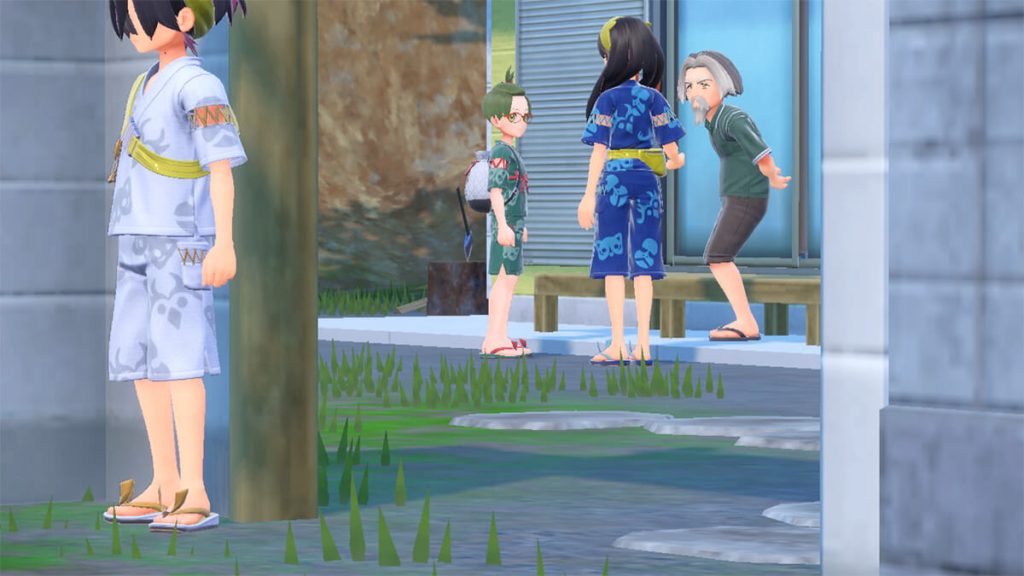
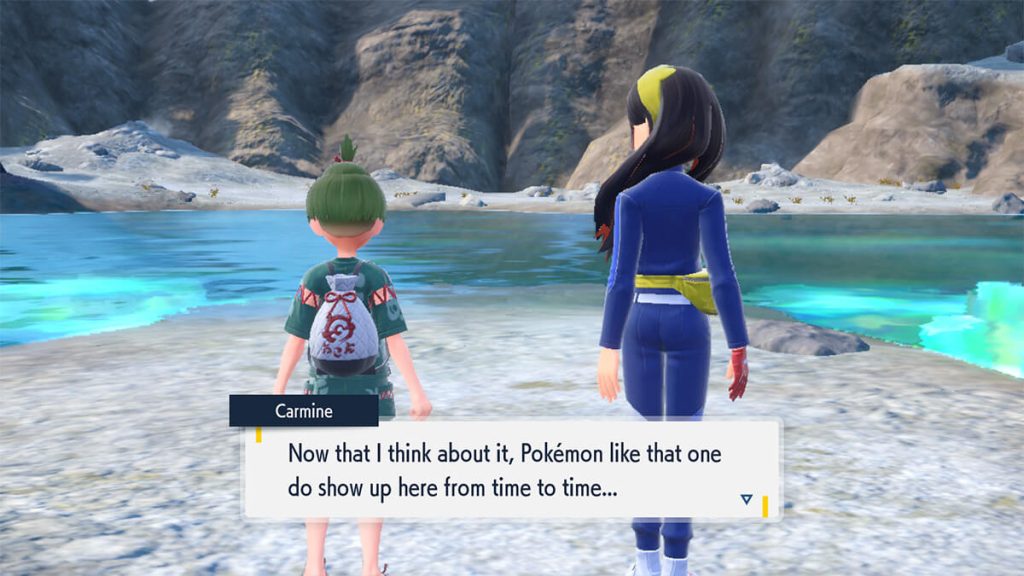
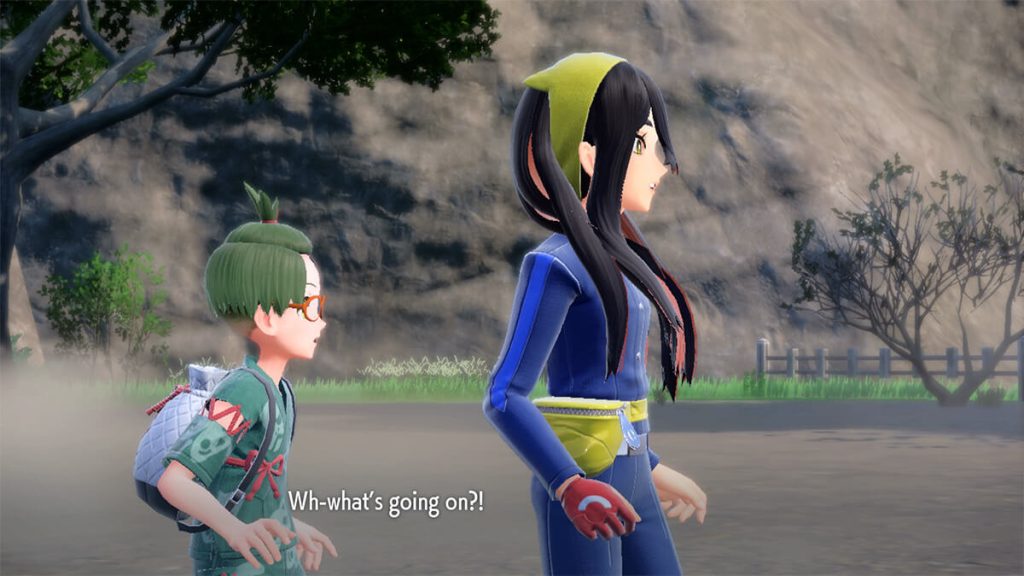
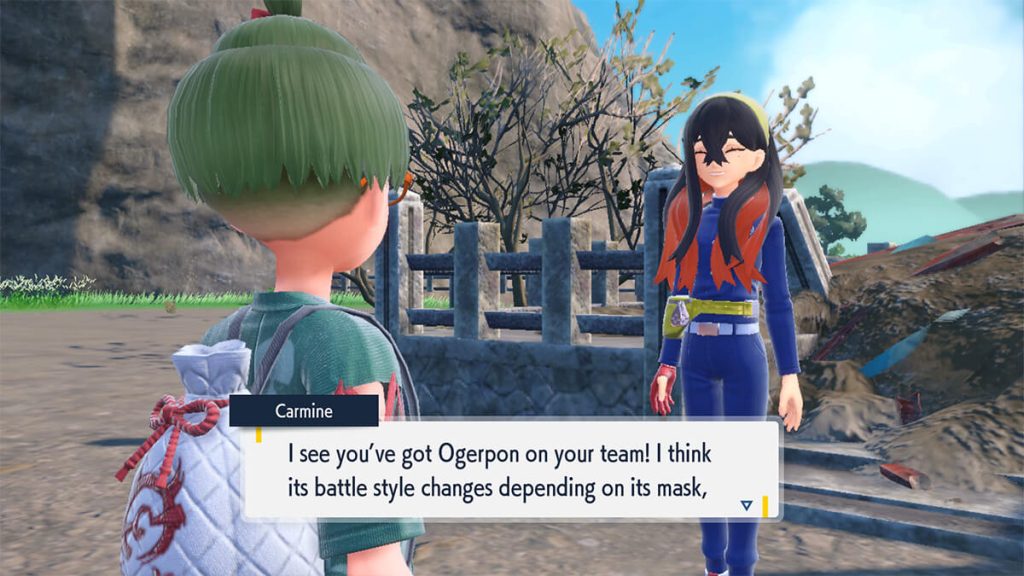
As you enter Mossui Town, you’ll be stopped by Carmine and her brother Keiran. Carmine says you can’t gain entry to the town until after you battle her. She will be using a Poochyena, Vulpix and Poltchageist who are level 12-13 if you have not completed the main Scarlet and Violet story or are level 60 if you have.
After defeat, the caretaker will run out and tell you he will assist your classmate and you can go ahead into the community center.
Objective: Head Inside – Head into the community center as the caretaker suggested!
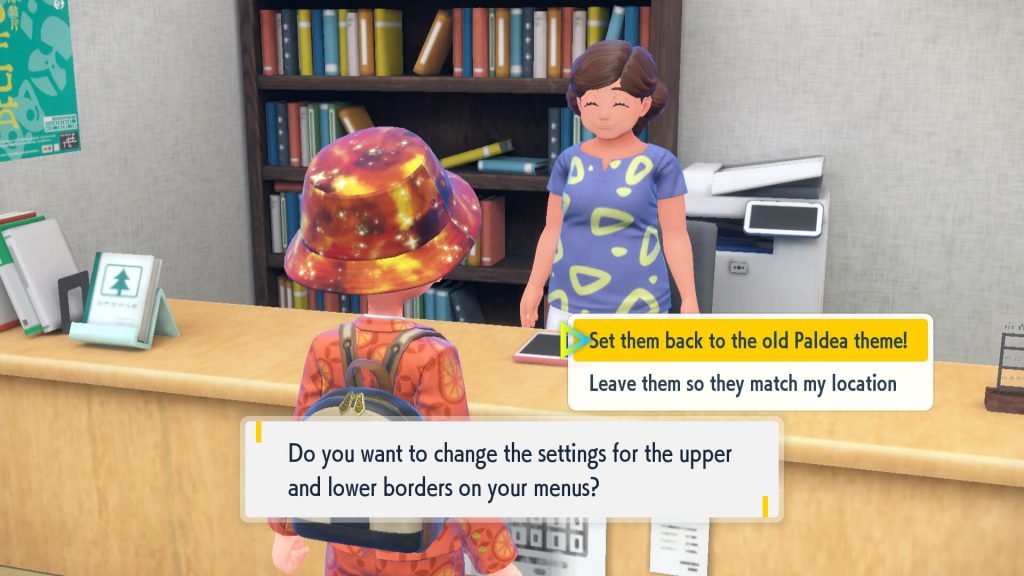
When you go to the community center, a cutscene will play and Ms. Briar, the caretaker and the rest of the students will arrive. The caretaker will explain that you’ll be staying in the community center where you’ll have a private room and can relax. The woman at the front desk can also change your menu style between the option of the original Paldea theme and the new Kitakami option that will change based on location you’re in.
Objective: Time for Bed – After you’ve had a good look around the community center, head to your room in the back to call it a night!
Orienteering in Kitakami part 1
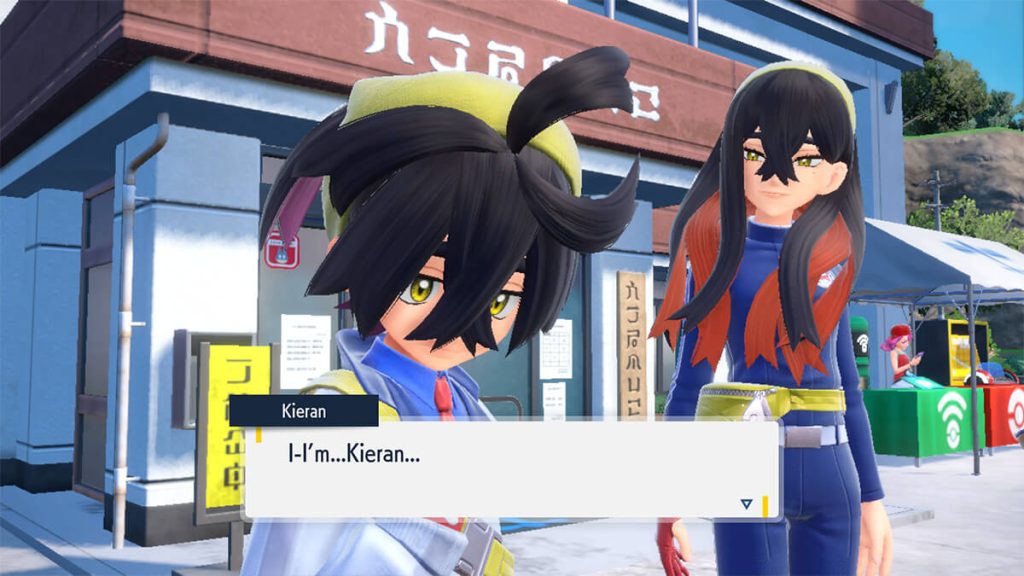
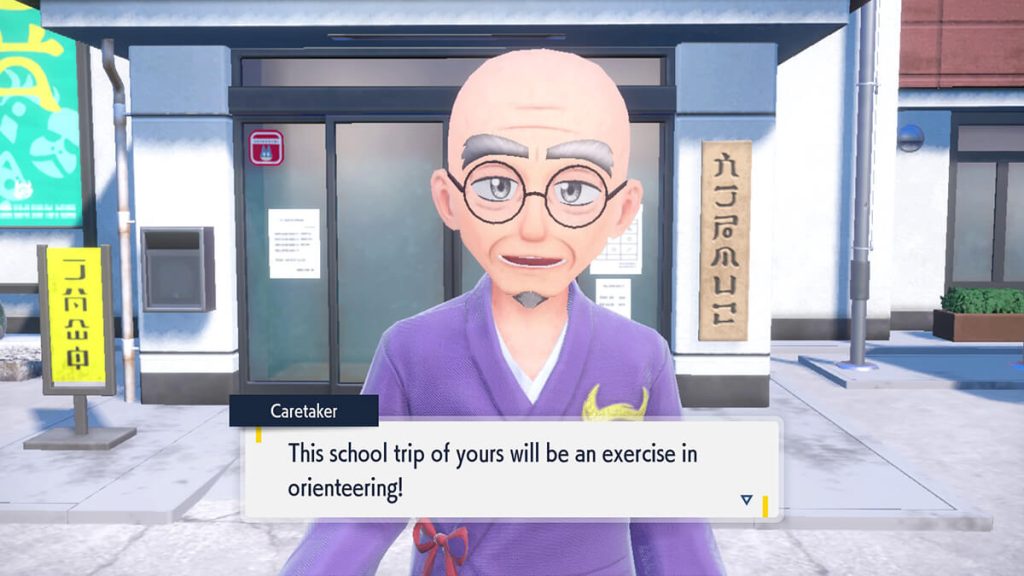
The next day you’ll be formally introduced to Carmine and Kieran, students from Blueberry Academy and siblings who grew up in Kitakami. The caretaker explains that your trip is about orienteering and sets you off in pairs to take a selfie in front of three signboards. To help you, he gives you the Roto-Stick, a selfie stick which can help you take selfies from farther away.
Objective: Making New Friends – Talk to the students from Blueberry Academy and get to know each other!
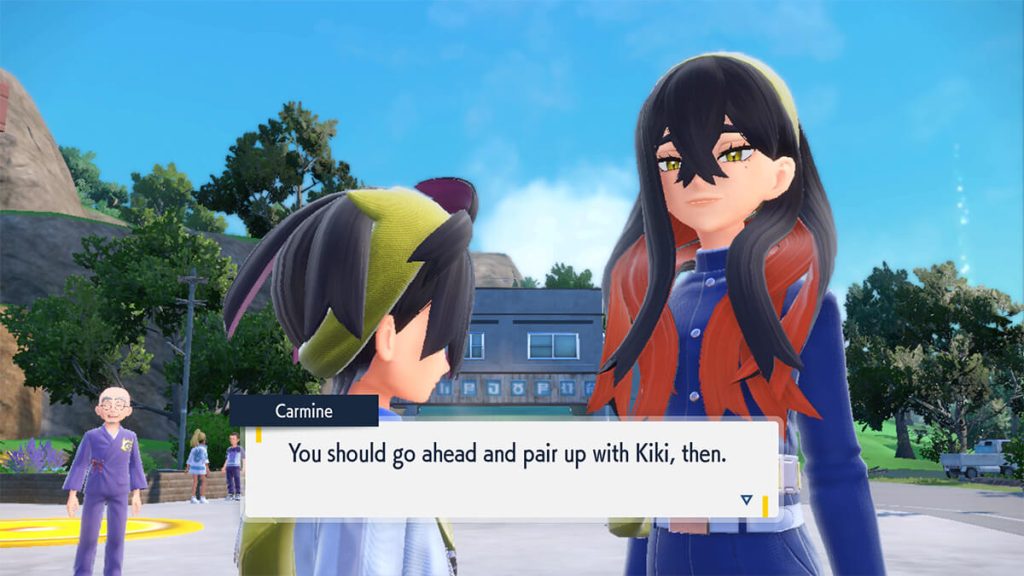
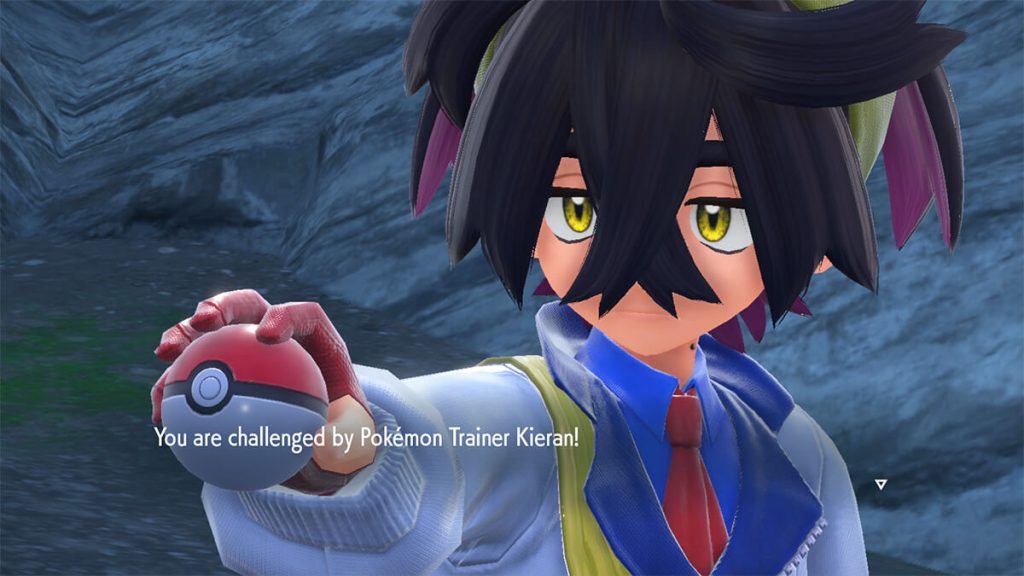
Ms. Briar will encourage you to team up with students from the other school, but when you talk to Carmine you’ll end up in a battle Kieran. He will battle using Sentret and Yanma, whose levels will depend on your progress in the main game like the battle with Carmine.
After the battle, you’ll pair up with Kieran and the caretaker will mark the signboard locations on your Rotom Phone. Kieran suggests that you head out to the signboard at Loyalty Plaza on the west side of the village past the apple orchards.
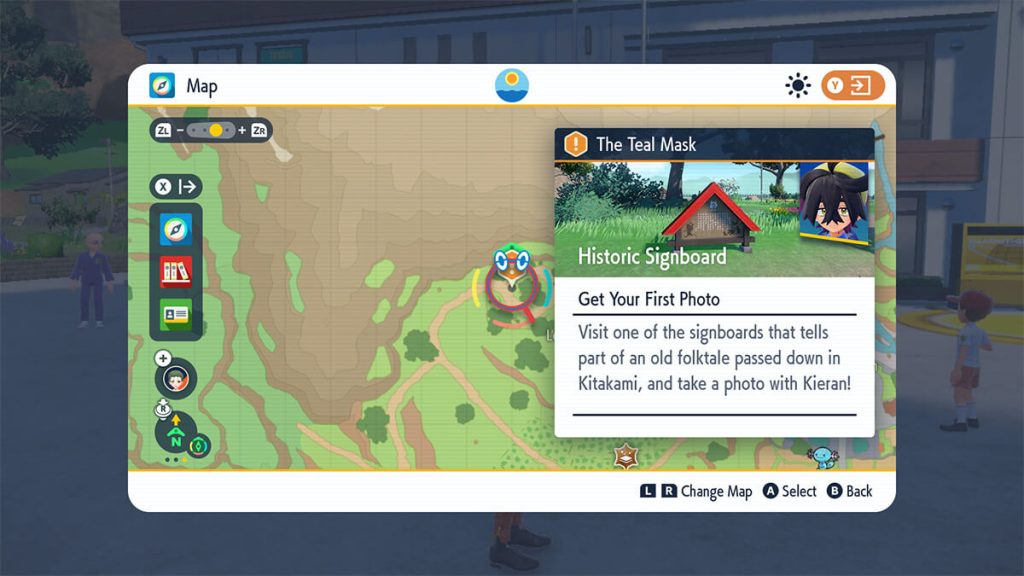
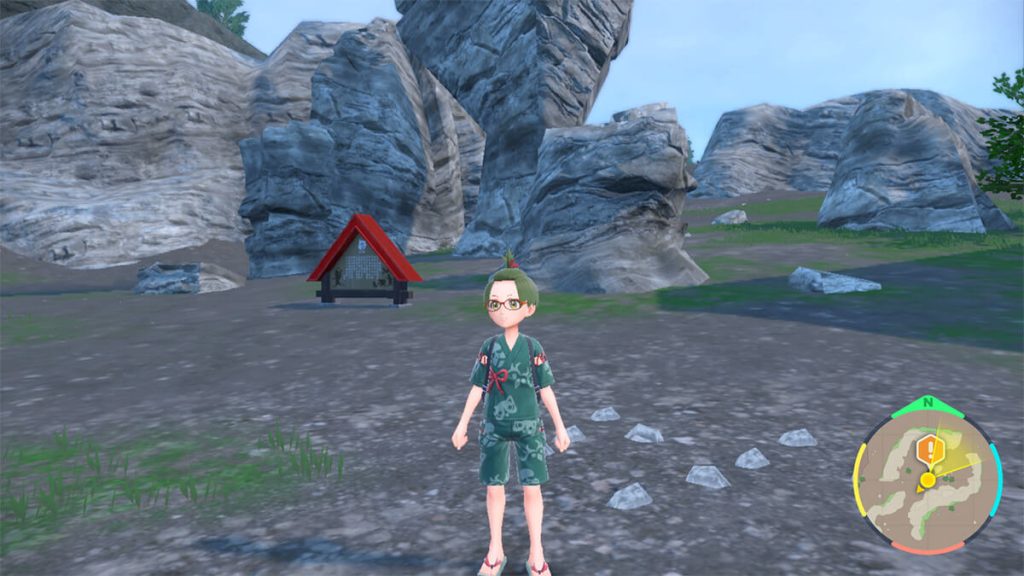
The first signboard
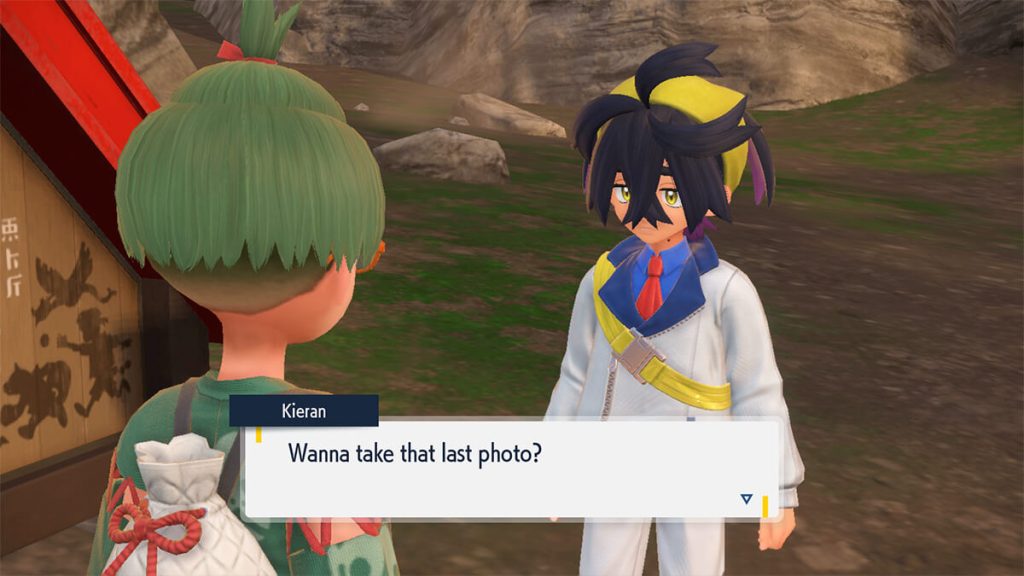
Objective: Get Your First Photo – Visit one of the signboards that tells part of an old folktale passed down in Kitakami, and take a photo with Kieran!
The location is clearly marked on your map and you can follow the road west of Mossui Town that takes you through Apple Hills.
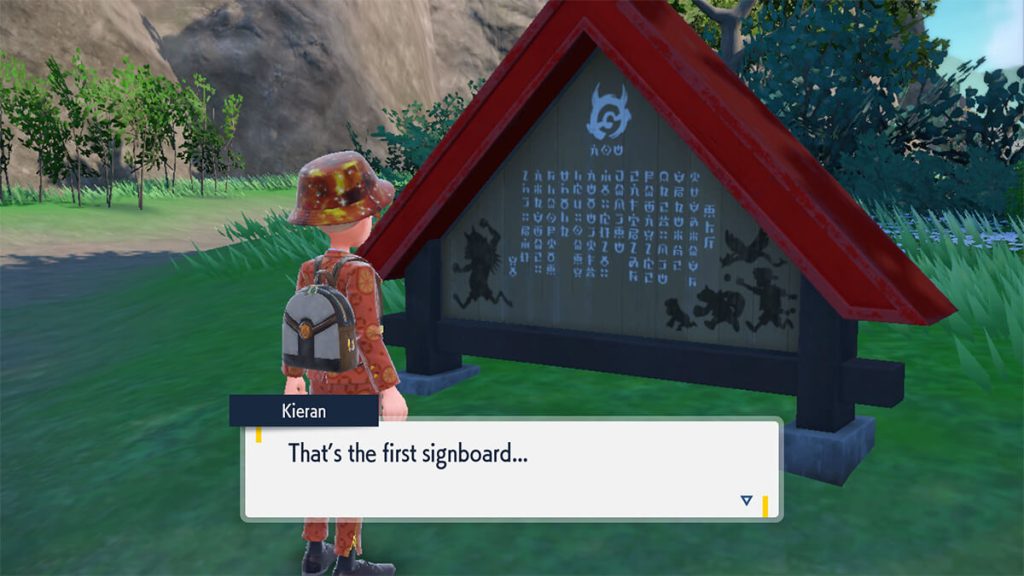
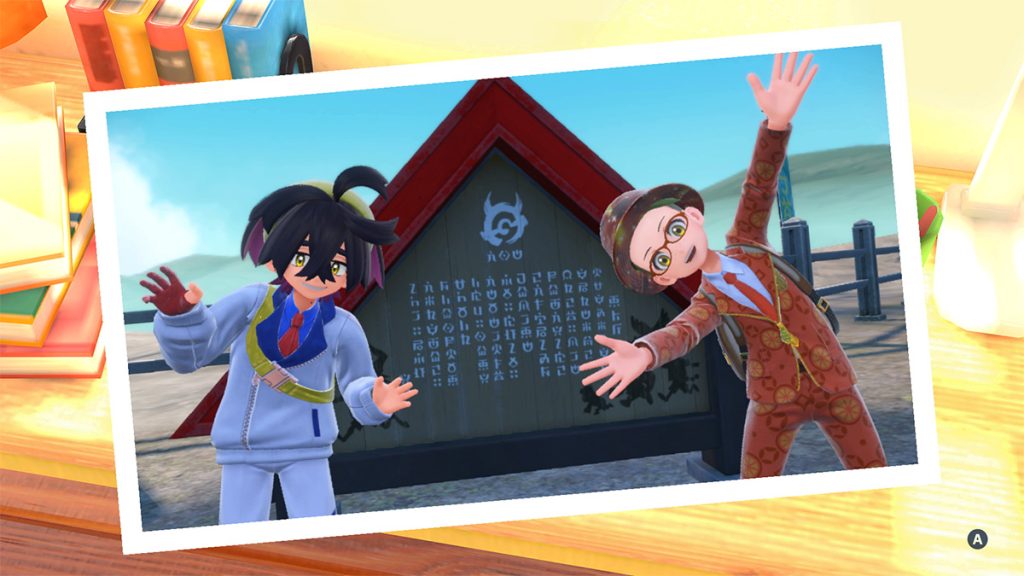
Once you arrive at Loyalty Plaza, you’ll see the signboard is right through the gate and all you need to do is interact with it. You’ll learn about the story of the Loyal Three who laid down their lives to fight off the mean and scary Ogre who lived in the mountains.
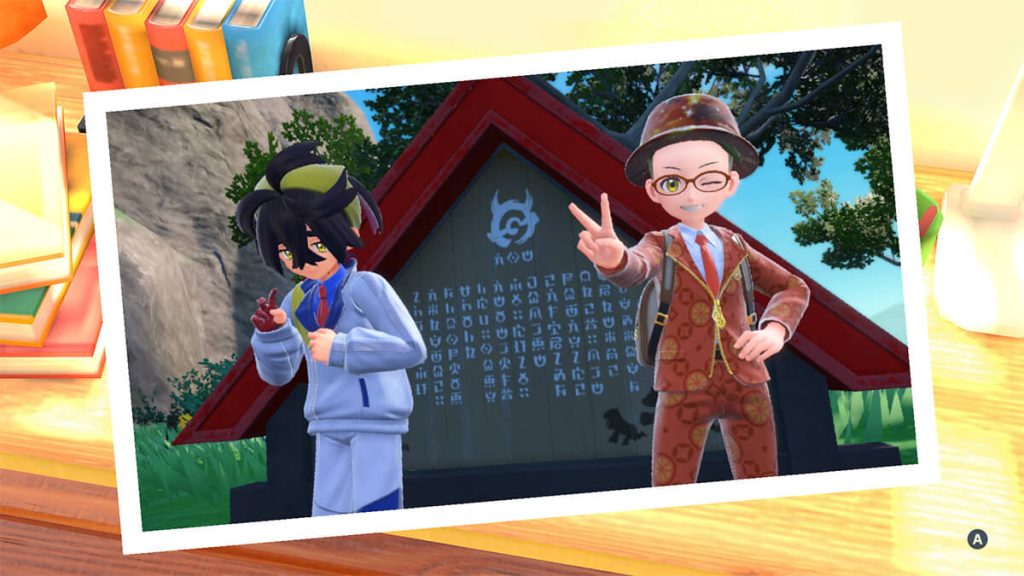
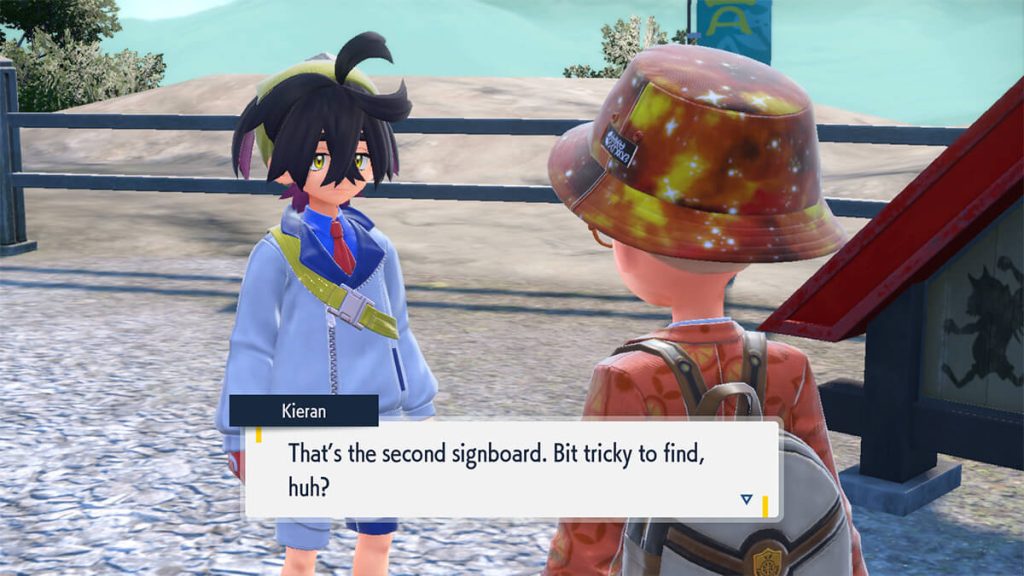
The second signboard
Objective: Get Your Second Photo – Visit one of the signboards that tells part of an old folktale passed down in Kitakami, and take a photo with Kieran!
The objective is helpfully marked on your map and easy to get to, you simply need to head back through Mossui Town and follow the road that runs out of it to the east. You’ll then follow it up to Kitakami Hall where the second sign is.
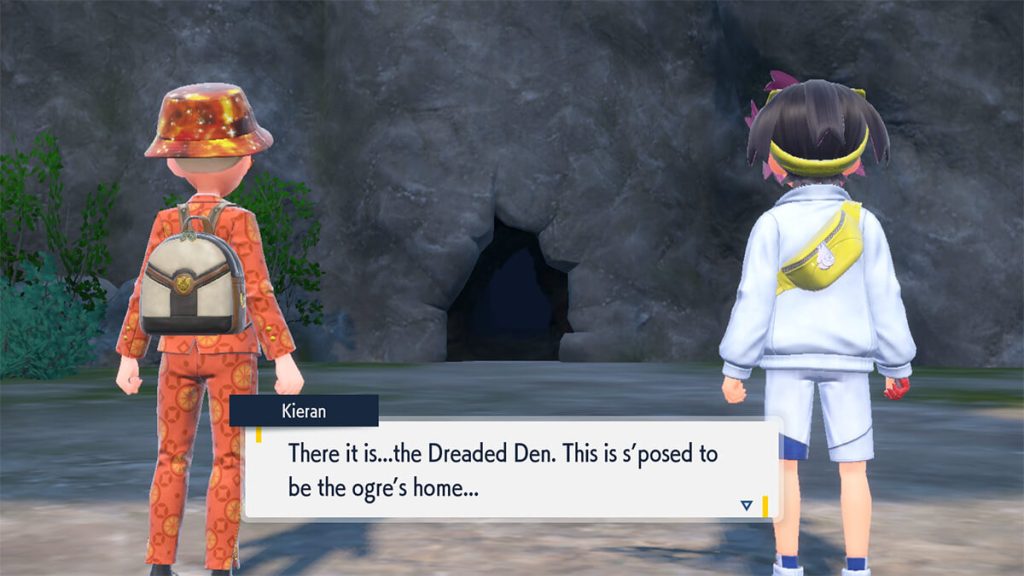
The Dreaded Den
Objective: A Visit to the Dreaded Den – Ascend Oni Mountain and visit the Dreaded Den!
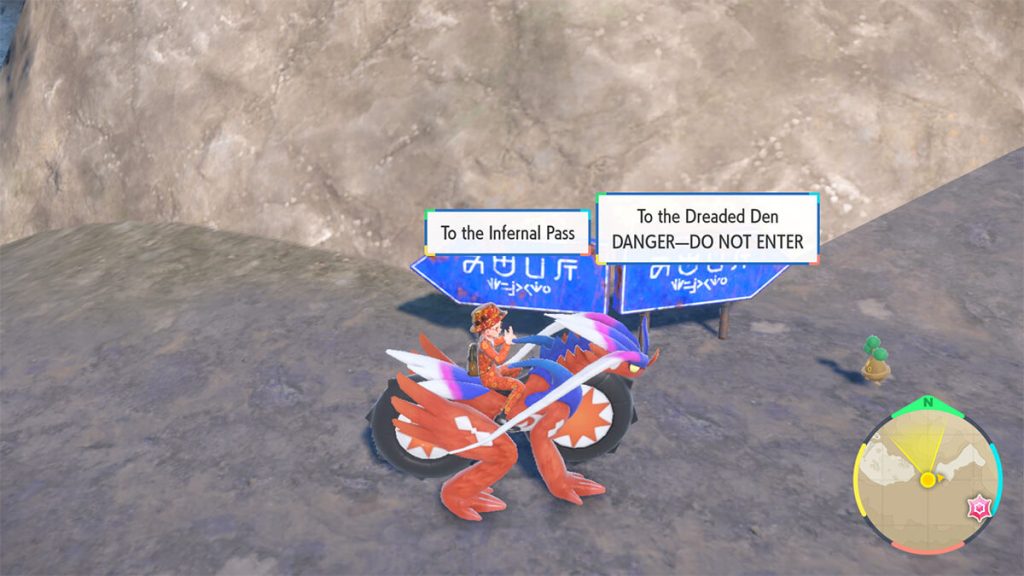
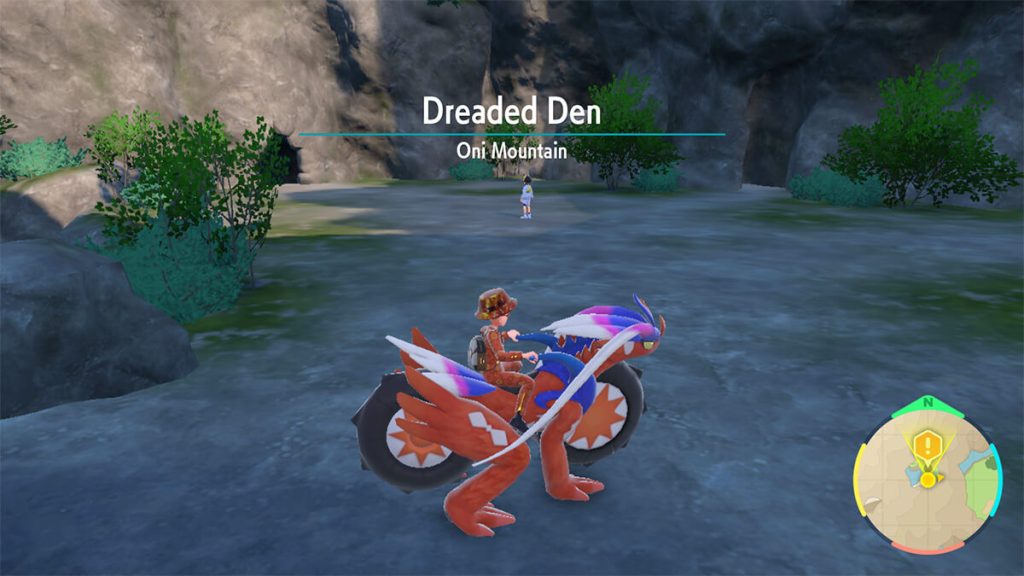
Kieran will suggest a visit to the Dreaded Den. You can follow the path up Oni Mountain to the quest marker on your map. The mountain path is not clearly represented on the map, but just follow it up and you’ll reach a fork with two signposts. One points you towards the Dreaded Den and the other marks the Infernal Pass.
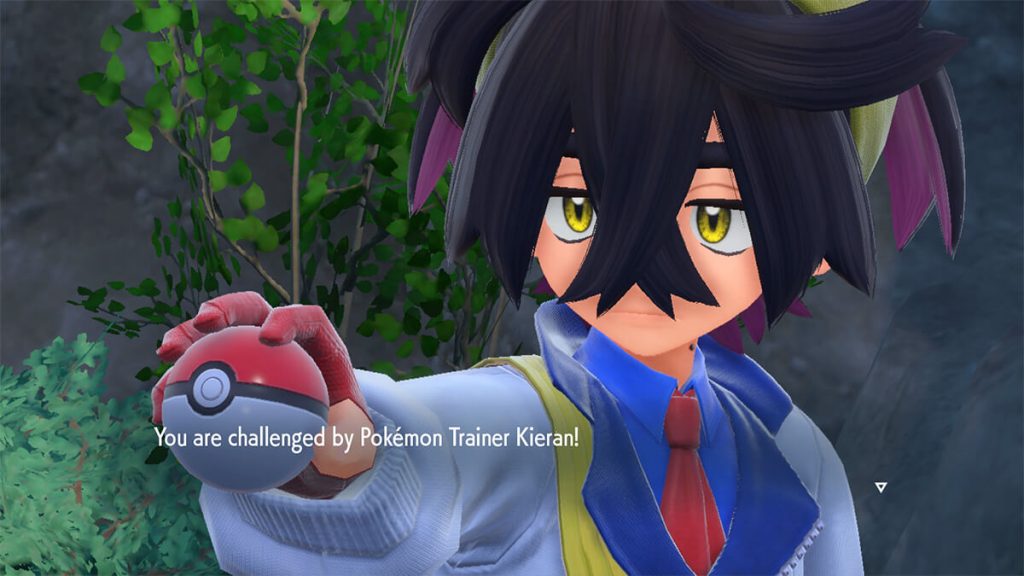
Kieran will hypothesize that a battle may draw out the ogre and challenges you to a battle. His team consists of Poliwag, Yanma and Furret. After the battle, the ogre doesn’t reveal itself, but it can be seen observing the battle and running away.
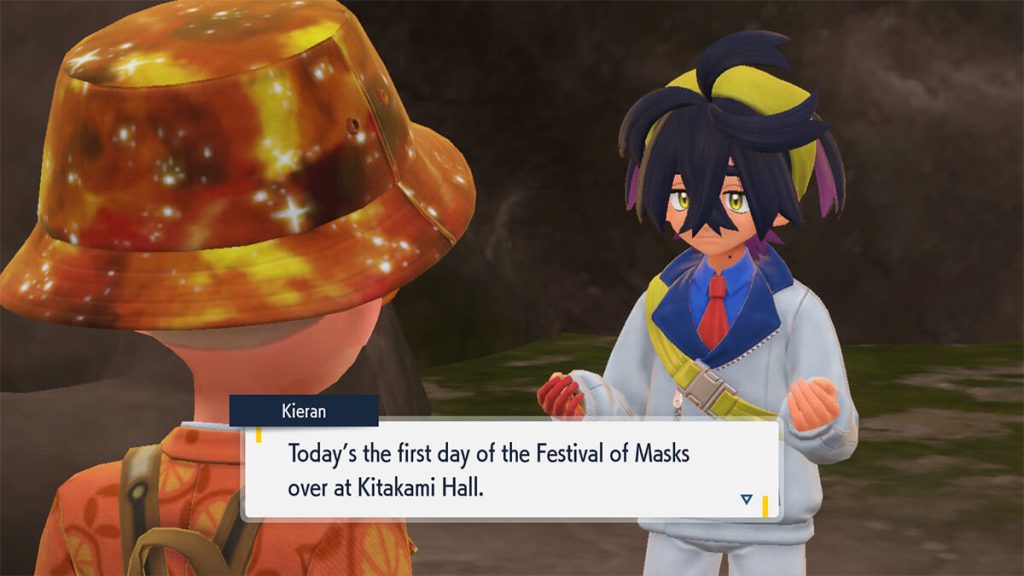
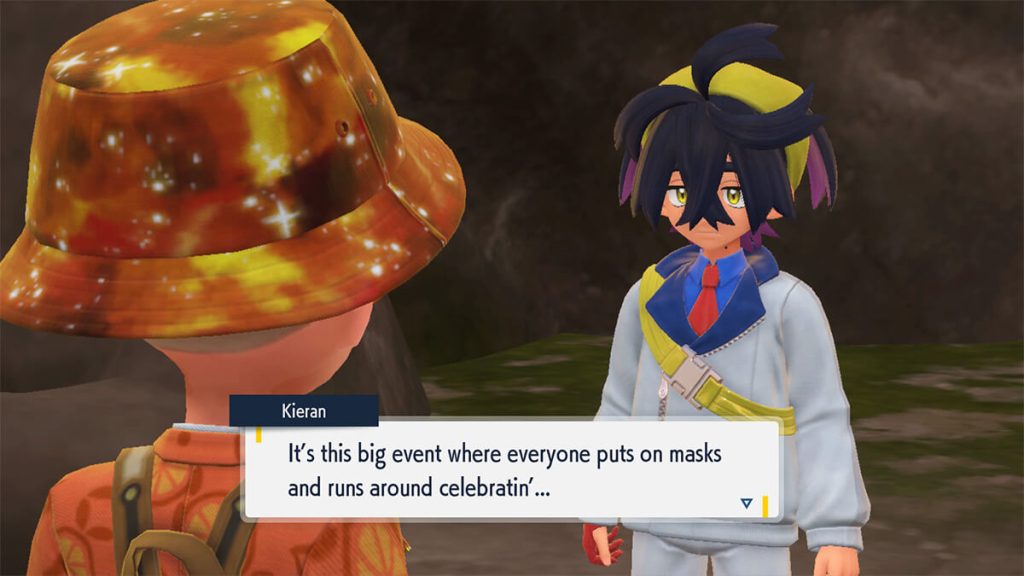
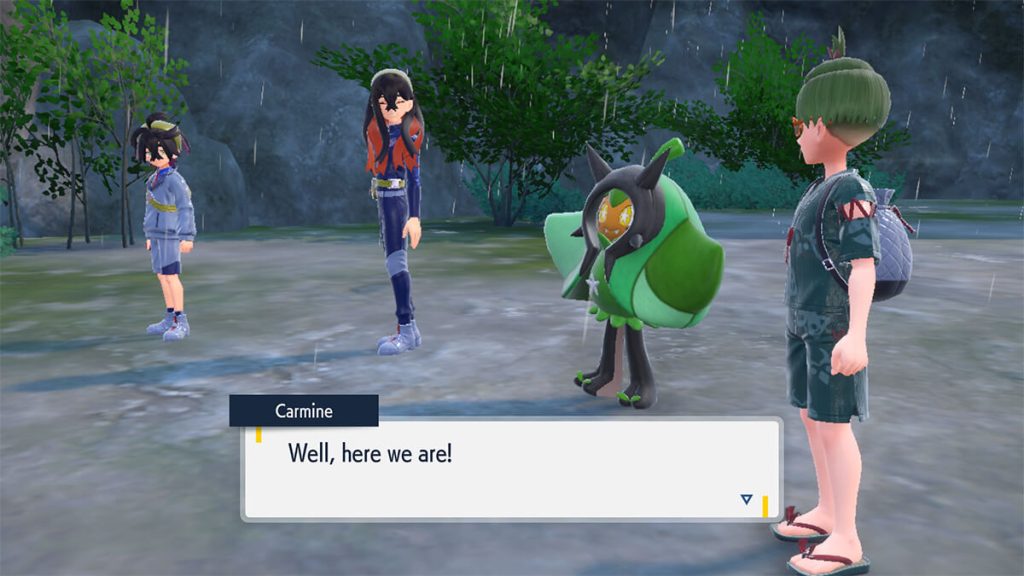
Finally, after exploring the small, cramped cave, Kieran invites you to go to the Kitakami Festival of Masks. He says there’s a few things he needs to get ready and invites you to his house.
The Festival of Masks
Objective: To Kieran’s – Meet Kieran at his family’s home to get ready for the Festival of Masks!
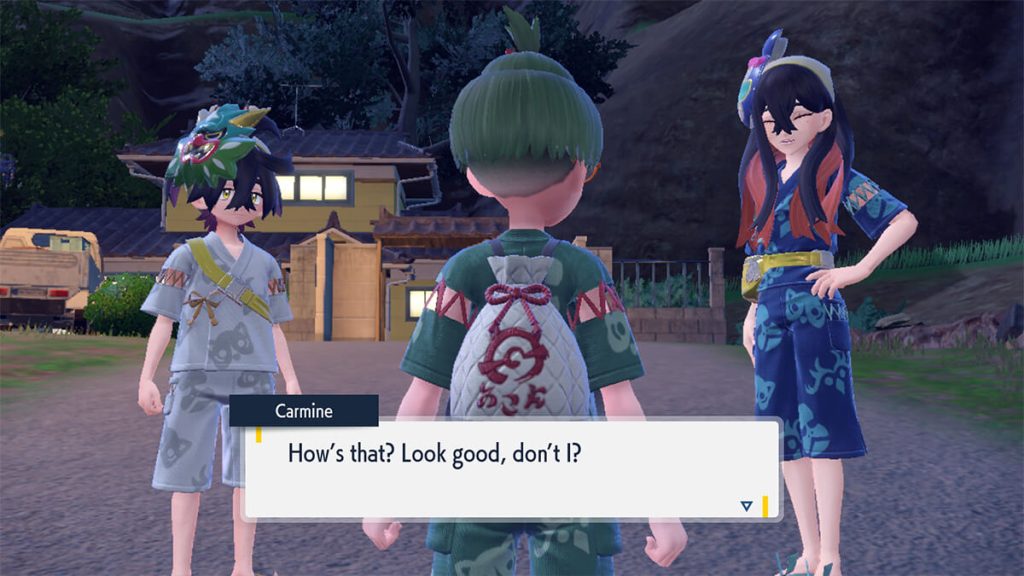
Kieran’s house is marked on your map and is a short way north of the Community Center in Mossui town. After being introduced to his grandparents, you’ll be given your jinbei outfit and the Teal Style Card, a Key Item that adds new items and styles to boutiques and hair salons.
Objective: Choosing Masks – Chase after Carmine and Kieran to find the shed and get yourself a mask.
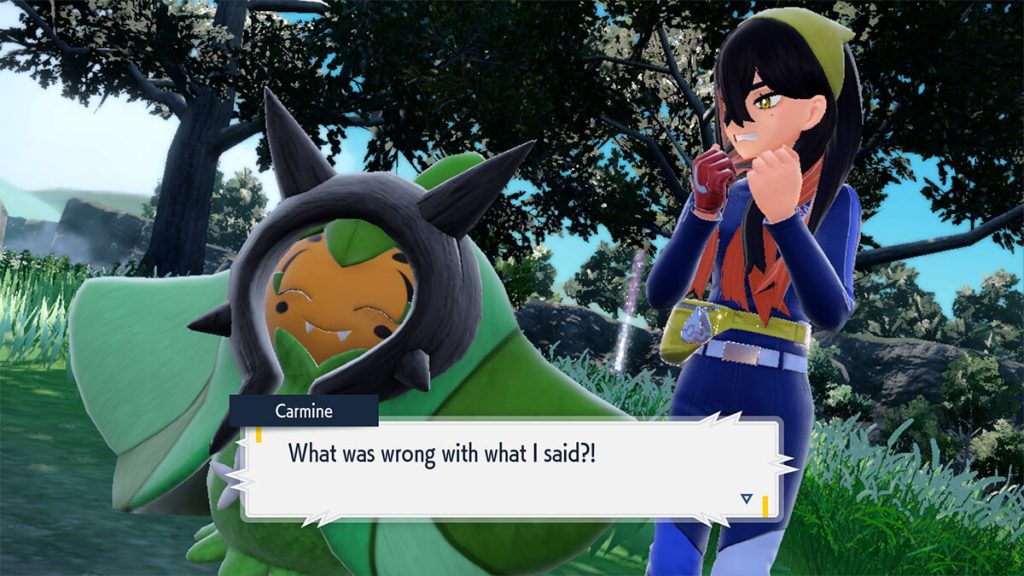
You’ll then be directed to the shed, where Carmine will inform you there are not enough masks and challenge you to a battle. Her team consists of Morpeko, Mightyena, Poltchageist and Swadloon. Unfortunately, even after defeating her, you still won’t get a mask.
Objective: The Festival of Masks – Go to the Festival of Masks, which is being held at Kitakami Hall!
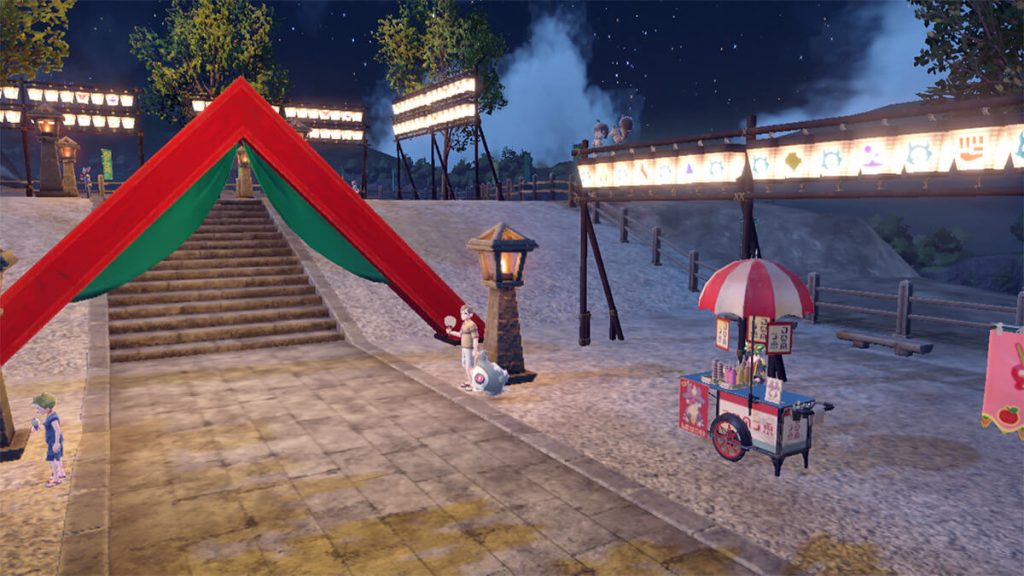
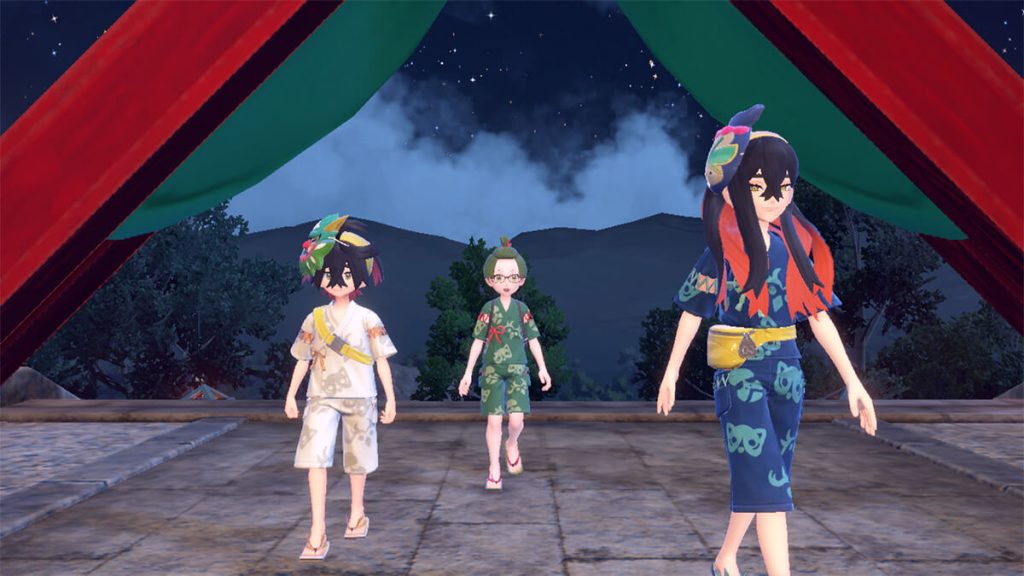
Players can fly to Reveler’s Road to quickly get to Kitakami Hall. After a brief interaction with Carmine and Kieran, you’ll be able to explore the festival. You can get food from various stalls and can interact with Kieran near a candy apple stall to move the story along.
Kieran will then run up to the stand near the main Kitakami Hall shrine building. You’ll be able to play the Ogre Oustin’ mini game. No matter what your score is, you’ll receive the Exp. Charm as a reward.
After that, Kieran will tell you to wander around and you’ll catch a glimpse of a mysterious child wearing an ogre mask…
Interacting with it will trigger a story sequence with it and Carmine.
Objective: After That Kid! – Chase the strange kid you saw wearing an ogre mask!
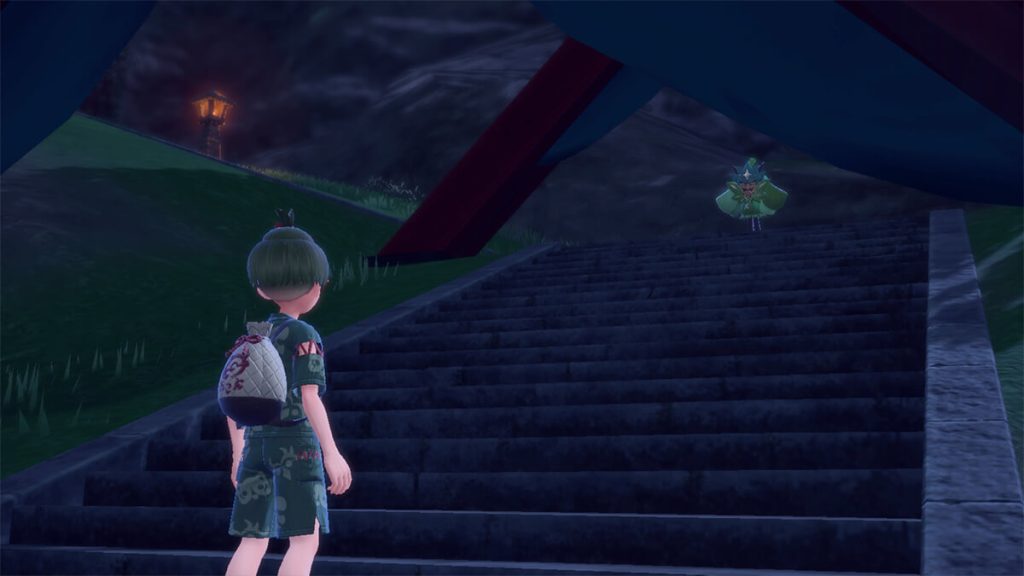
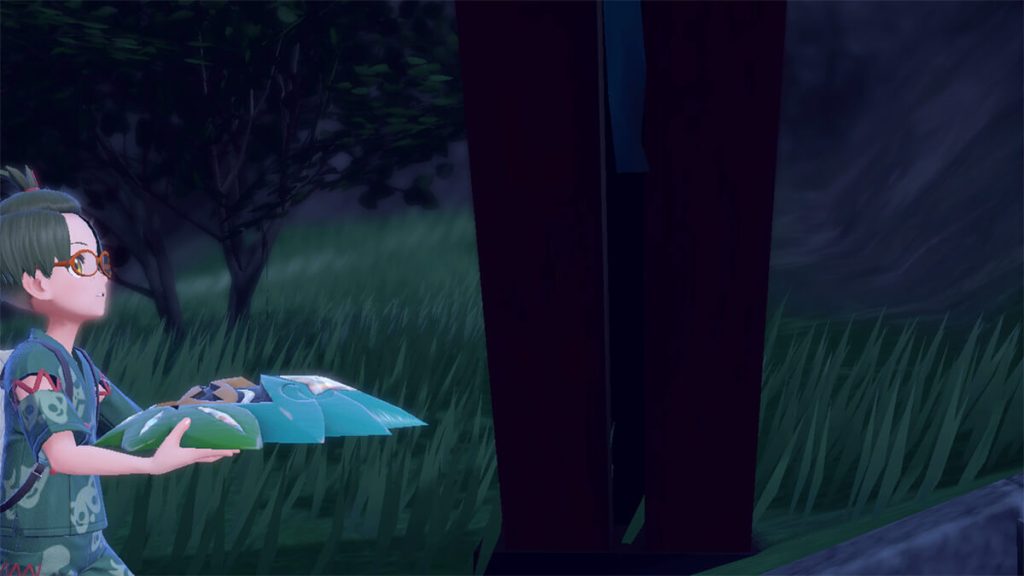
Following Ogerpon a short way will trigger a cutscene in which its mask accidentally falls off and you obtain it as the Key Item Teal Mask. Ogerpon flees and Kieran just misses it. Carmine convinces you to not tell Kieran because he may be hurt that he wasn’t able to see the ogre.
Objective: The End of an Exciting Night – After you’ve had your fill of the festival, find Kieran near the entrance and tell him you’re heading out!
You can purchase foods or explore the festival more, but talk with Kieran when you’re ready to move on.
Objective: A New Day – Head outside to start a new day!
Kieran escorted you back to the Community Center after the festival and you’ve just woken up. Exit the center to continue the story.
Objective: To Carmine’s – Go tell Carmine’s grandfather about the ogre!
Carmine will ambush you outside the Community Center and ask you to head to her house so that her grandfather can inspect the mask and possibly provide information about it.
After showing Carmine’s grandfather the mask, he will explain the true story of Ogerpon that has been passed down through his family….
Objective: The True Story – Talk to Carmine’s grandfather to hear the true story of the ogre!
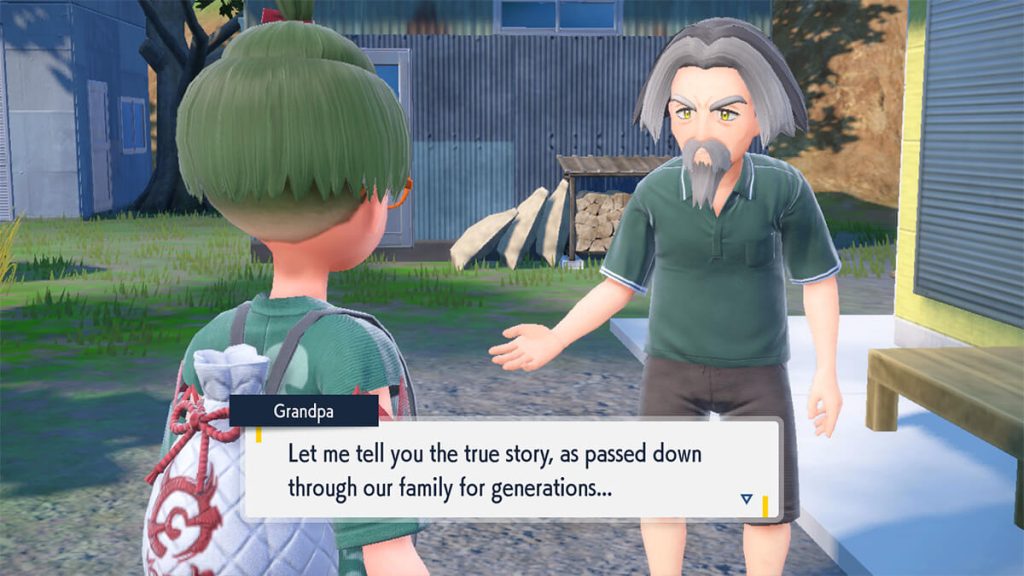
After interacting with Carmine’s grandfather, he will begin the story. I’ve added it to a spoiler dropdown below if you’d like to read.
Spoiler: The true story of the ogre and the Loyal Three
A long, long time ago, a man and an ogre came to Kitakami from a foreign land. The people of the village feared the man and the ogre, who looked so different from them… And so they refused to let the travelers come anywhere near the village.
The man and the ogre were saddened that the villagers did not welcome them… But they were happy just to have each other. They settled quietly in a cave on the mountain.
There was only one villager who pitied the two travelers: the village mask maker. He made several masks for the man and the ogre. The masks were brilliant works, adorned with gems the man brought from somewhere far away. By wearing these masks, the travelers could hide their true faces and mingle with the villagers.
The man and the ogre were overjoyed. They thanked the mask maker for his kindness. Wearing the masks, the man and the ogre started secretly joining the village festival. The mysterious pair soon became the talk of the village because of their brilliant masks.
In fact, rumors about them quickly spread far and wide, even to distant lands. But rumors of exquisite, shining masks attract more than just innocent curiosity… A group of greedy Pokémon soon made their way to the land of Kitakami.
These Pokémon sneaked into the cave in which the man and the ogre lived… and tried to make off with the masks, which were carefully stored away. The man happened to be there. He managed to hold on to one of the masks… but he was not strong enough to protect them all. The Pokémon stole the other three masks.
Several hours later, when the ogre returned to the cave… it found its beloved home in ruin. All that was left were signs of a struggle and a teal mask. The ogre donned that mask and went down to the village, perhaps to search for its friend. It found the greedy Pokémon there, gloating over their stolen masks, and defeated them.
The villagers, of course, had no idea what was happening nor why. All they saw was the raging ogre. And they felt great fear. The villagers though the three Pokémon had fallen trying to protect the village from the ogre. To honor their sacrifice, the villagers named them the Loyal Three and interred them with care. Wounded and weak, the ogre returned to its cave—alone and with great sadness.
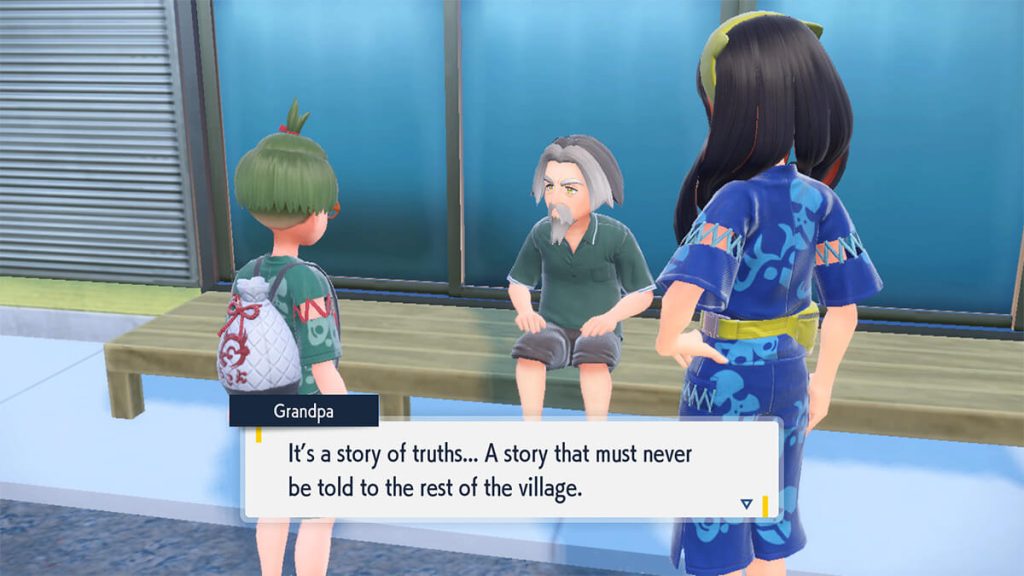
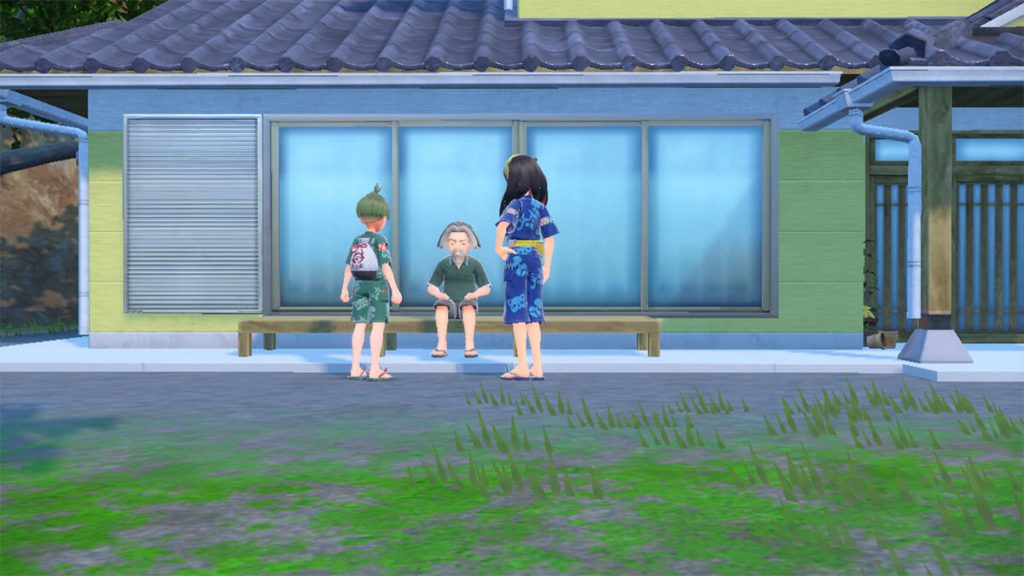
Carmine’s grandfather says that the villagers would be angry if the truth were tried to be exposed since they revere the Loyal Three so much. His ancestor was labeled a heretic for trying to get the truth out. He will try to repair the mask since a gem on it is chipped.
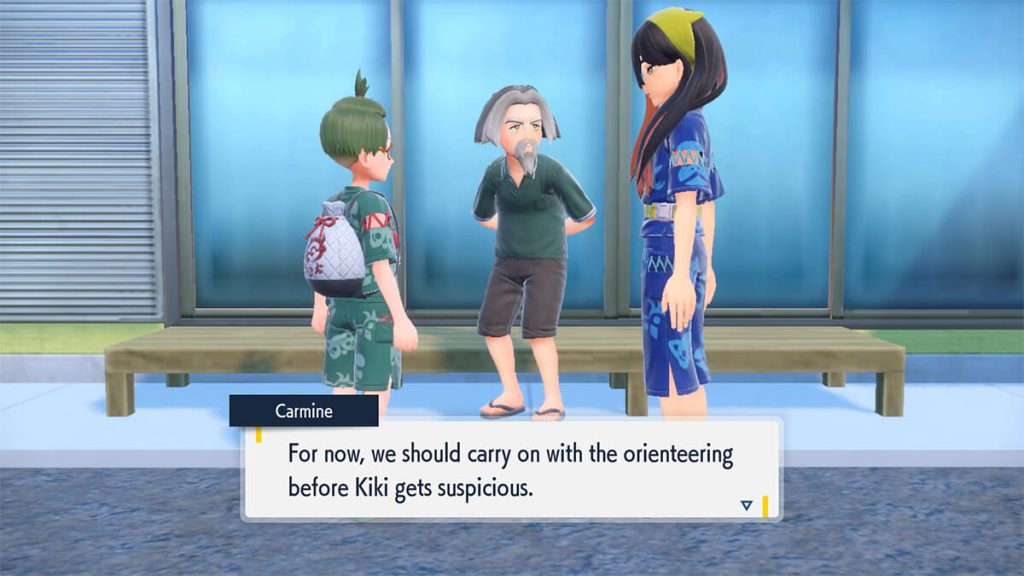
A cutscene shows that Kieran had been outside the gate listening and runs away.
Orienteering in Kitakami part 2
The third signboard
Objective: Find Kieran – Meet up with Kieran, who must be somewhere in Mossui Town!
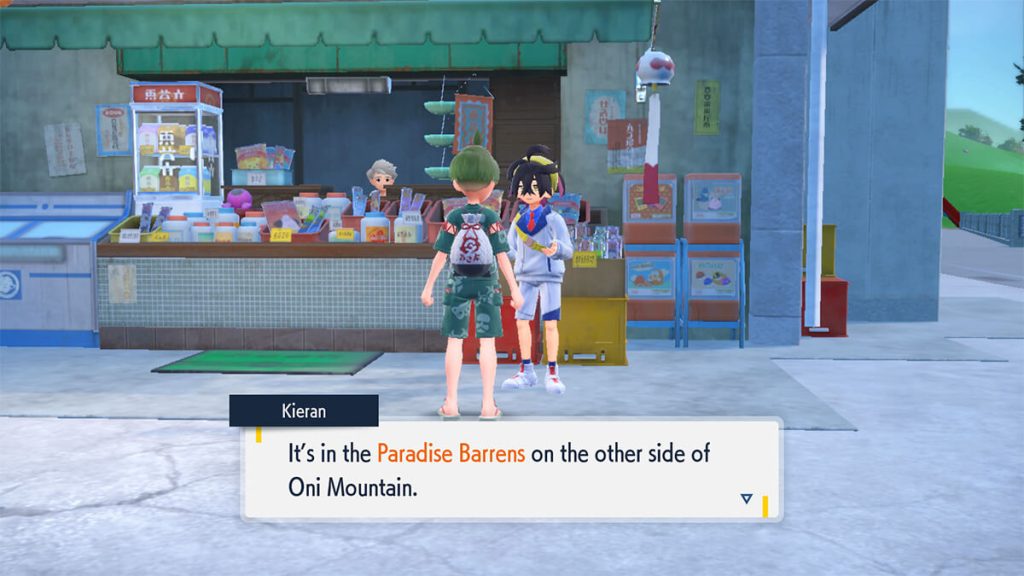
Kieran can be found on the marked area of your map, in front of Peachy’s store. He tells you to head to Paradise Barrens where the last signboard is located. He’s disappointed that you lied to him about what you were talking about with Carmine.
Objective: Get Your Last Photo – Visit one of the signboards that tells part of an old folktale passed down in Kitakami, and take a photo with Kieran!
Paradise Barrens is located over Oni Mountain in the northwest area of Kitakami. You can go up the mountain and jump down, go around the side or fly to a nearby area if you have it unlocked.
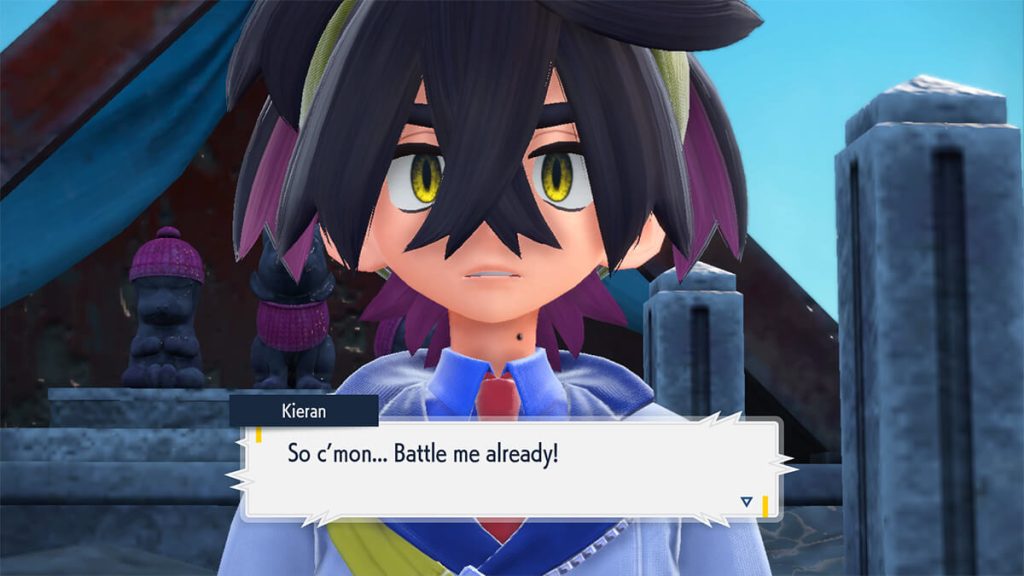
Interacting with the sign will trigger a scene with Kieran in which he will ask to battle you. His team consists of Yanma, Poliwhirl, Furret and Dipplin.
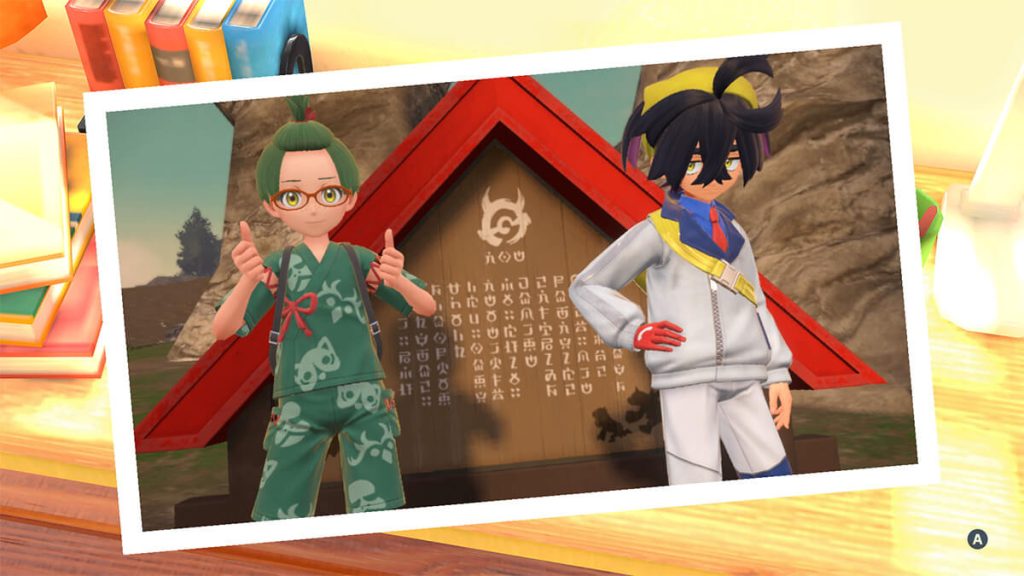
After defeating him, he’ll take a final photo with you and head home looking unhappy.
Objective: Another Day Done – You’re done with the assignment! Head back to the community center, and get some rest in your room!
Head back to the Mossui Community Center and rest when you’re ready to continue the story.
The “Loyal” Three appear
Repairing the mask
Objective: To Carmine’s Again – Go to Carmine and Kieran’s house to see what Carmine wants!
Upon waking up in the Community Center, you’ll be greeted by a student who says Carmine would like you to meet her at her house. After arrive, she and her grandpa will explain that the mask needs a Crystal Cluster from the Crystal Pool on top of Oni Mountain to properly repair it.
Objective: Fixing the Mask – Go to the Crystal Pool to find the Crystal Cluster you need to get the mask fixed!
You can either ascend Oni Mountain on foot, following the trail up, or fly to the Crystal Pool if you have unlocked fast travel there. You’ll find Carmine waiting.
After some dialogue, a Water-type Pokémon will jump out and attack. You’ll battle alongside Carmine to defeat it. After doing so, you’ll notice it left a Crystal Cluster on the ground!
Ms. Carmine will then approach and share some information about the water of the Crystal Pool.
Objective: To Carmine’s Again – Head back to Carmine and Kieran’s house to give their grandfather the Crystal Cluster!
After returning to Carmine’s house, his grandfather informs both of you that Kieran has run off with the mask.
Unleashing the Loyal Three
Objective: Find Kieran – Go to Loyalty Plaza to speak to Kieran, who took the Teal Mask!
Players can easily fly to Loyalty Plaza and Kieran will be waiting by the shrine of the Loyal Three. He will make you feel very guilty for leaving you out and express his frustration, finally challenging you to a battle. His team consists of a Yanma, Gligar, Poliwhirl, Cramorant and Dipplin.

After defeating him. Kieran will reluctantly return the mask and goes home after punching the shrine to the Loyal Three. Suddenly they awaken and head towards Kitakami Hall.
Saving Ogerpon
Objective: After Them! – Head to Kitakami Hall in pursuit of the “Loyal” Three!
After flying or walking to Kitakami Hall, you’ll see a group of adults who tell you that the Loyal Three were just there and, as a show of appreciation, the masks being kept safe in the shrine were returned to them. They also ate nutritious mochi and are probably even stronger now.
Carmine says that she will take the Crystal Cluster and the Teal Mask back to her grandfather so that he can repair it and asks you to go chase the three troublemakers and to protect Ogerpon.
Objective: Protect Ogerpon – Head to Ogerpon’s home, the Dreaded Den, to keep Ogerpon safe!
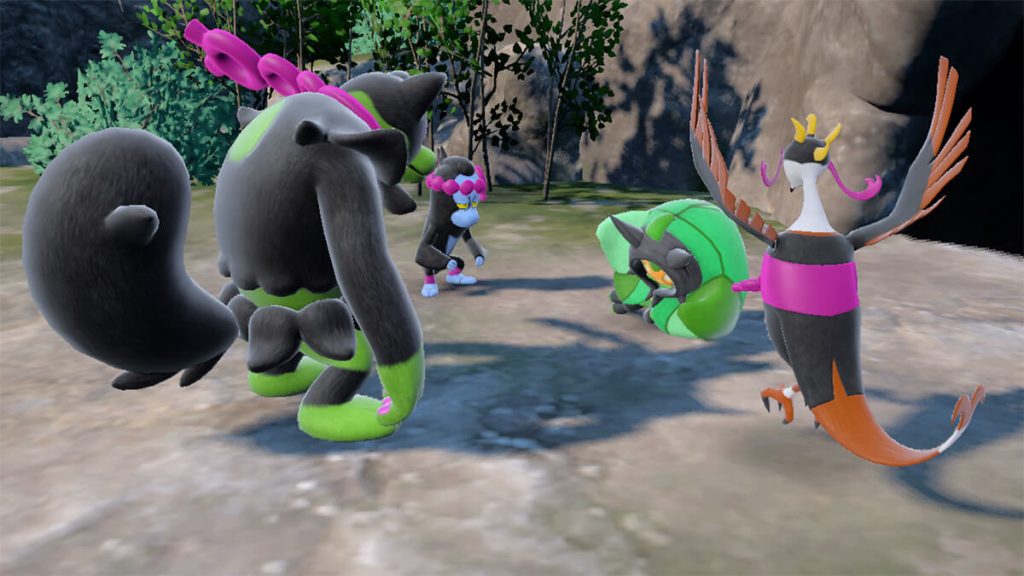

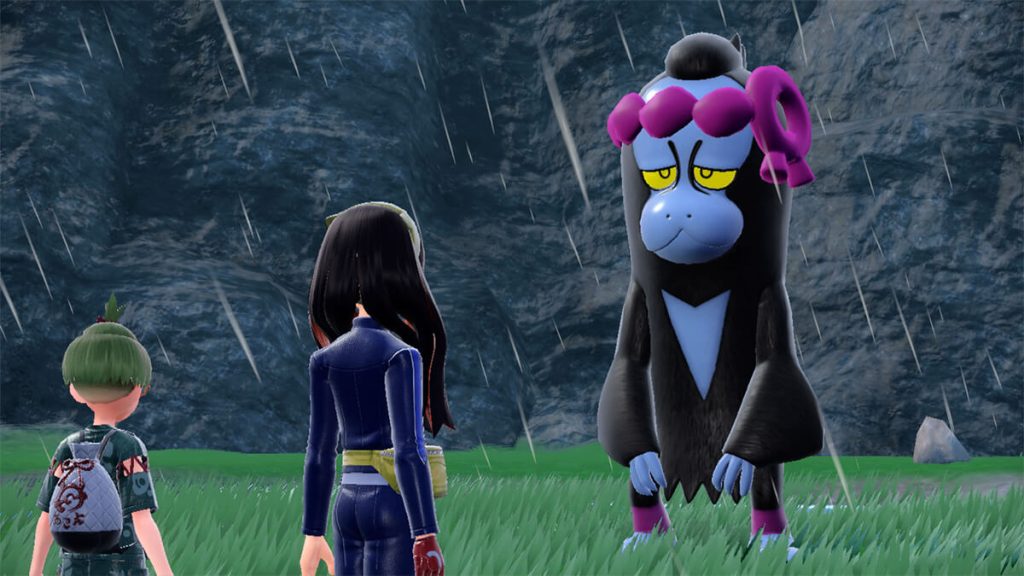
Arriving at the Dreaded Den, you’ll see that the Loyal Three have surrounded Ogerpon. You’ll have to fight Munkidori who posses Swagger and Flatter, along with its ability that can badly poison your Pokémon.
After defeating it, Kieran and Carmine show up and the Loyal Three decide three-on-three is too much of a fair fight. They scatter and, after some dialogue, you are able to return the Teal Mask to Ogerpon.
Carmine resolves to find all the missing masks and, with the player and Kieran, creates the Mask Retrieval Squad.
Retrieving the missing masks
Objective: To Town Together – Go back to Mossui Town to gather info about the “Loyal” Three!
Ogerpon doesn’t want to just waltz back into the village that chased it away. After a pep talk, you’ll be ready to gather information.
Objective: Gather Info – Talk to the villagers in Mossui Town to gather info about the “Loyal” Three!
You’ll see some villagers have orange dialogue bubbles above their heads.
- A woman behind the Community Center will talk to you about Okidogi and it going to the Barrens
- A young boy to the east of the Community Center will share that Fezandipiti flew over Oni Mountain
- A man to the west of the Community Center will tell you Munkidori is napping by a pond
The locations will then be added to your map. Kieran gets emotional and decides not to continue in the search for Ogerpon’s masks.
Fighting the Loyal Three
The Loyal Three can be fought in any order.
Objective: Defeat Okidogi – Locals believe worshiping Okidogi will grant you kindness and help keep things okeydokey between you and other people. Okidogi was once a smaller and weaker Pokémon, but a desire for strength led it to gain powerful muscles.

Located in northern Paradise Barrens, Okidogi is a Poison/Fighting-type Pokémon that will fall most easily to Psychic-type attacks, although Flying and Ground-type moves also work well. Ogerpon will give you some support and Carmine will be battling alongside you.
After defeating Okidogi, you pick up the Cornerstone Mask.
Objective: Defeat Munkidori – Locals believe worshiping Munkidori leads to success in life—that doing so will make everything hunky-dory. Munkidori was originally a clumsy and dim-witted Pokémon, but a longing for cleverness led it to gain great wisdom.
Located next to Wisteria Pond, Munkidori is a Poison/Psychic-type Pokémon. We recommend you use Ground, Ghost or Dark-type attacks to take it down. Once again, Carmine will fight alongside you.
After defeating Munkidori, you pick up the Wellspring Mask.
Objective: Defeat Fezandipiti – Locals believe worshiping Fezandipiti will lead to good luck and serendipitous happenings. Fezandipiti was once a Pokémon with short, dull feathers, but a wish to be beautiful led it to gain an exquisite appearance.
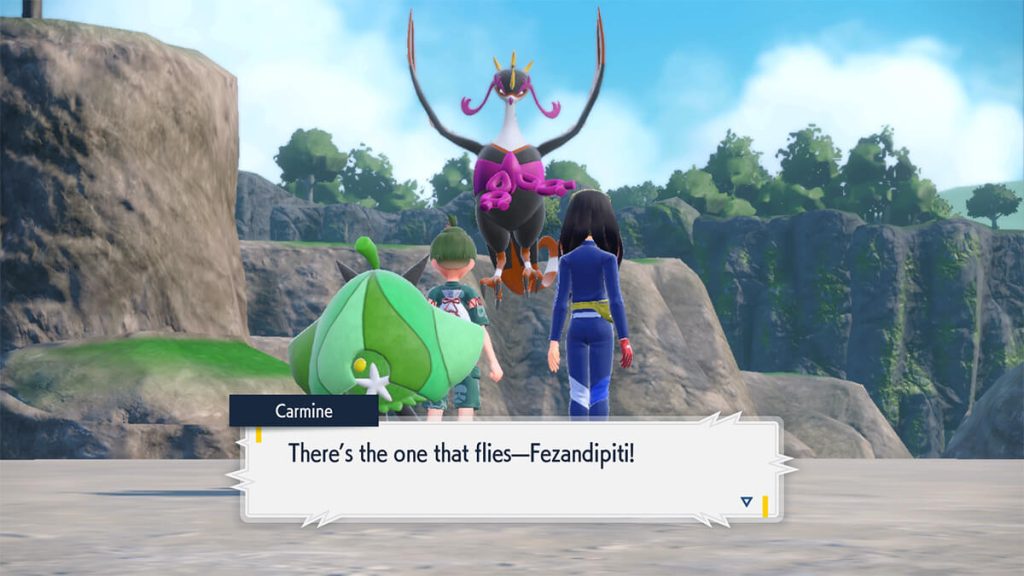
Although you’ll first see Fezandipiti flying near the mountain, it will go into the Chilling Waterhead cave as you approach. You can navigate to the very bottom through the paths or by jumping down. After exiting, you’ll see the Retainer Pokémon waiting for you.
As a Poison/Fairy-type Pokémon, Ground, Steel and Psychic-type attacks will work the best to bring it down quickly. Carmine will battle alongside you.
After defeating Fezandipiti, it will drop the Hearthflame Mask. Kieran will then ask you to trust him and return to the village with Ogerpon.
Objective: Returning to Town – Kieran seems to have had an idea… Take Ogerpon back to Mossui Town with you to see what happens!
Spoilers: Ogerpon returns to the village


As Kieran promised, the villagers are welcoming to Ogerpon and apologize for their treatment of it. They tell Ogerpon that it can rightfully keep its masks and can come and go as it pleases.
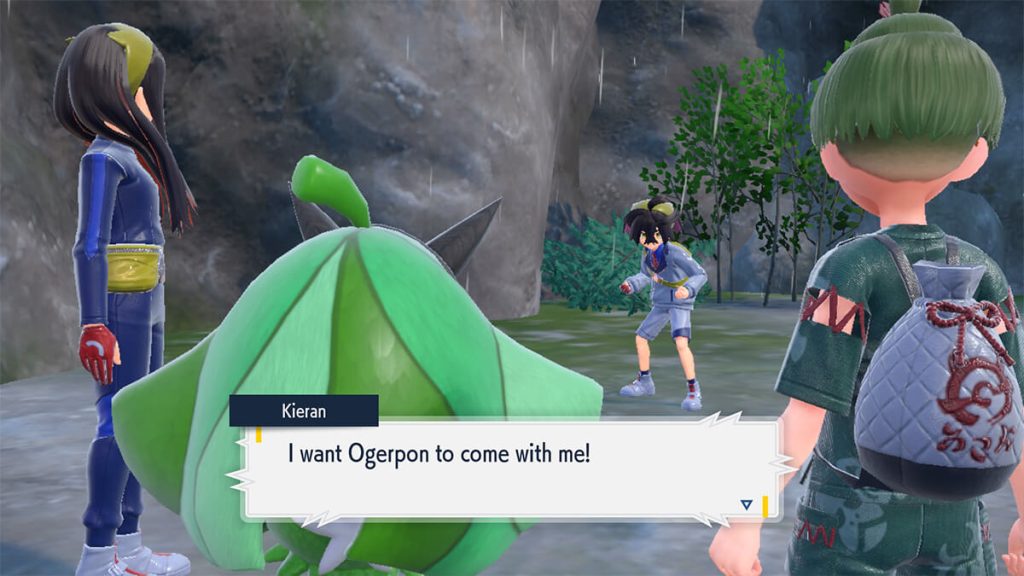
Objective: Time to Go Home – Take Ogerpon back to the Dreaded Den on Oni Mountain!
You bid farewell to Ogerpon, but it seems to want to stay with you! Unfortunately, Kieran wants Ogerpon to be with him. It’s time to battle.
Objective: Defeat Kieran – Battle Kieran to decide which of you is worthy of being Ogerpon’s partner!
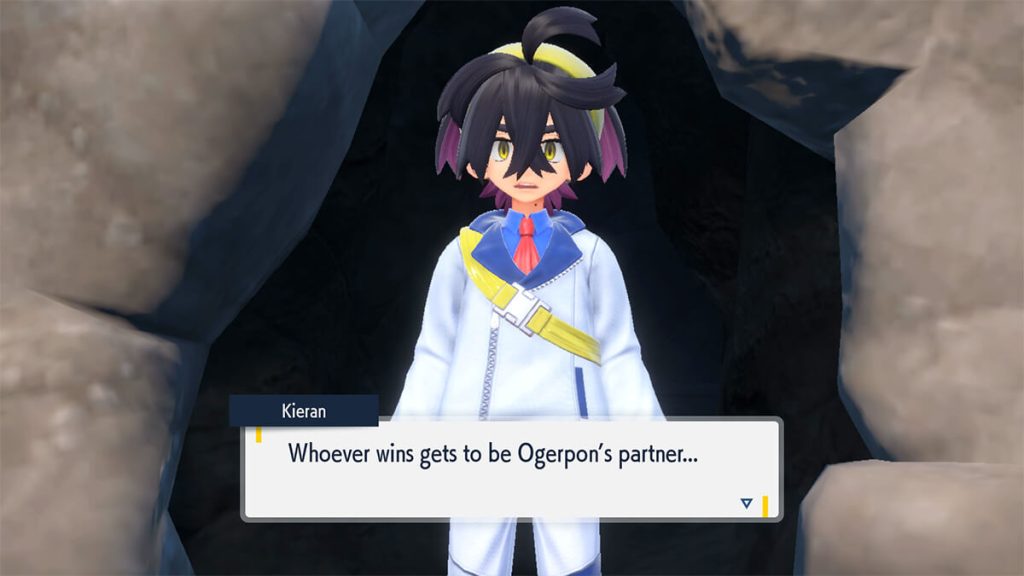
Kieran’s team consists of Shiftry, Poliwrath, Yanmega, Probopass, Dipplin and Gliscor. As long as you come prepared, it shouldn’t be too difficult of a battle.
Objective: Proving Yourself – Prove yourself to Ogerpon in battle!


Ogerpon will utilize its masks in a battle that will have you facing its Terastallized Hearthflame, Wellspring, Cornerstone and Teal Mask forms. It shouldn’t be too hard to beat each form.
After defeating it and capturing it (I believe this is a guaranteed capture; use whatever Poké Ball is most aesthetically pleasing to you), Ogerpon will entrust you with its three masks.
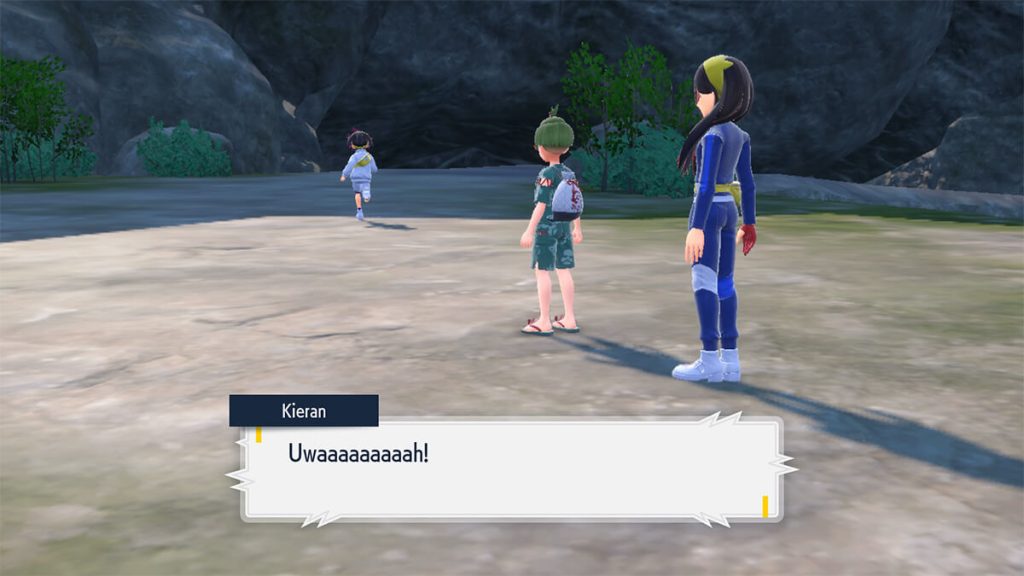
Kieran will leave, upset, and you’ll progress to the next day after a short talk with Carmine. You’ll wake up at the Community Center. A student tells you Carmine is waiting for you at Loyalty Plaza.
Objective: Carmine Again – Meet Carmine at Loyalty Plaza!
Carmine will be waiting for you at Loyalty Plaza and request a battle with Ogerpon. Once you’ve added it to your team, you can challenge her. She has Mightyena, Morpeko, Ninetales, Sinistcha and Leavanny.
After the battle, Ms. Briar will call and ask that you return to the Community Center.
Objective: The End of Orienteering – The orienteering activity is all over! Go to hear what the caretaker has to say back at the community center!
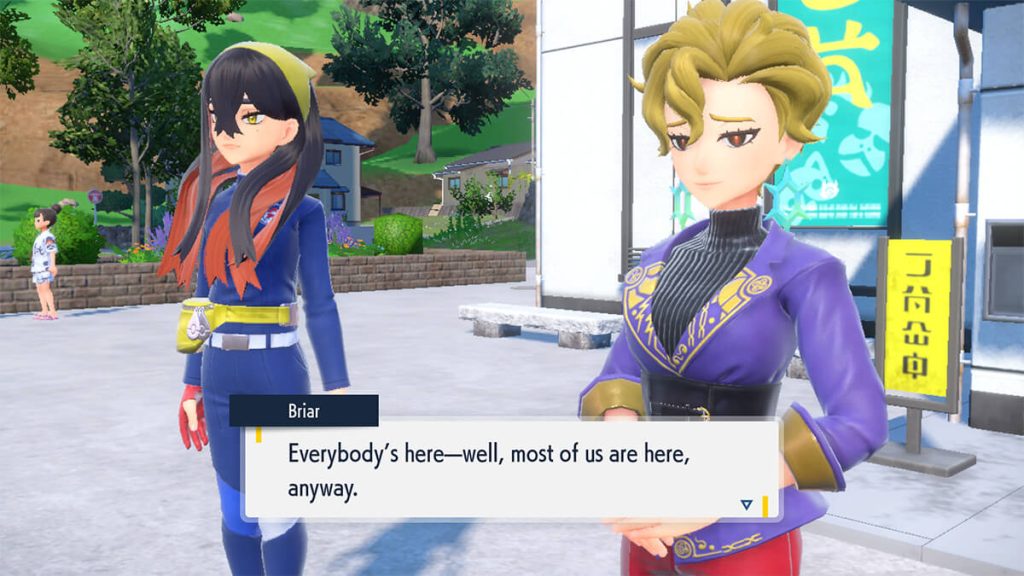
Ms. Briar will regretfully inform the player that not everyone is at the closing ceremony. The Caretaker will then inform you that your self-guided tour of Kitakami is now complete and thank you for taking part in it. The Caretaker then has a gift for you: the Kitakami Mochi Set! Since you and your classmates have finished the activity so early, he invites you to continue to explore Kitakami and make yourself at home for the remainder of the field trip (there’s no “end”).
Unfortunately, Ms. Briar informs you that she, Carmine and Kieran will have to return to Blueberry Academy earlier than expected. She says there have been some developments regarding the Great Crater…
Carmine then says some closing words, confessing that she was worried about how outsiders would act in Kitakami but that she ultimately realized you and your classmates were actually nice people. She apologizes for being so quick to judge and thanks you for visiting her village. She tells the player that Blueberry Academy has plenty of strong trainers and to visit soon.
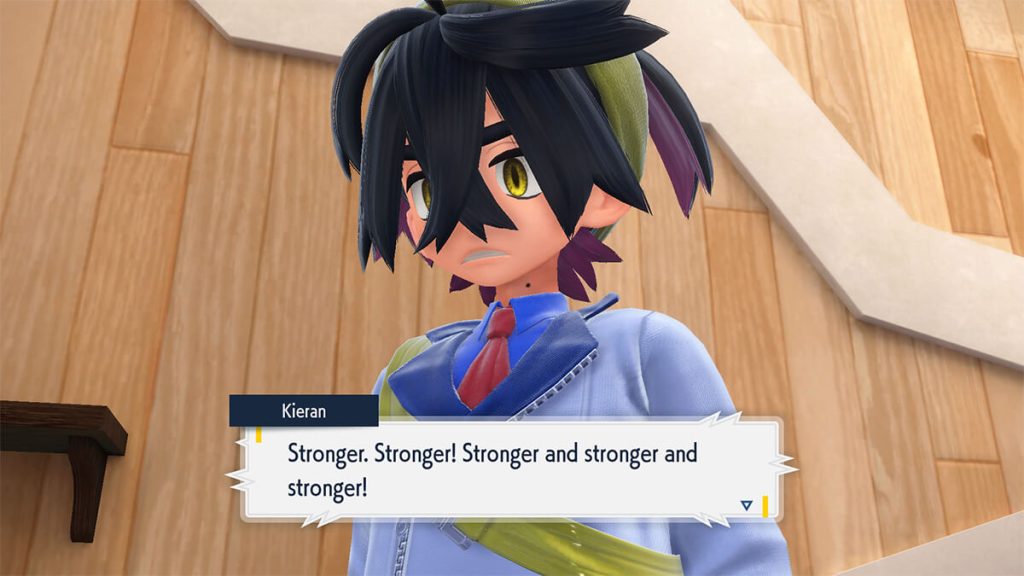

Meanwhile, in his room, Kieran struggles with accepting his defeat at the player’s hands… He vows to defeat you as the screen fades to black. To be continued…